文章目录
联系我们
创建 contact.vue 页面
<template>
  <view class='contact'>
    <image class='img' src="https://img0.baidu.com/it/u=865112164,3811307004&fm=253&fmt=auto&app=138&f=JPEG?w=900&h=305"></image>
    <view class='info'>
      <view @click="phone">联系电话:029-85219422(点击拨打)</view>
      <view>联系地址:陕西省西安市雁塔区小寨东路91号</view>
    </view>
    <map class='map' :longitude="longitude" :latitude="latitude" :scale="scale" :markers='covers'></map>
  </view>
</template>

<script>export default {
    data() {
      return {
        longitude:108.961495,
        latitude:34.230523,
        scale:13,
        covers: [{
              latitude: 34.224276,
              longitude: 108.955297,
              iconPath: '/static/location.png',
              width:30,
              height:30
            }]
      }
    },
    methods: {
      phone(){
        uni.makePhoneCall({
          phoneNumber: '114' //仅为示例
        });
      }
    }
  }</script>

<style lang='scss'>.contact{
  .img{
    width:750rpx;
    height:320rpx;
  }
  .info{
    padding:10rpx 20rpx;
    font-size:30rpx;
    view{
      line-height:60rpx;
      border-bottom:1px solid #eeeeee;
    }
  }
}
.map{
  width:750rpx;
  height:750rpx;
}</style>
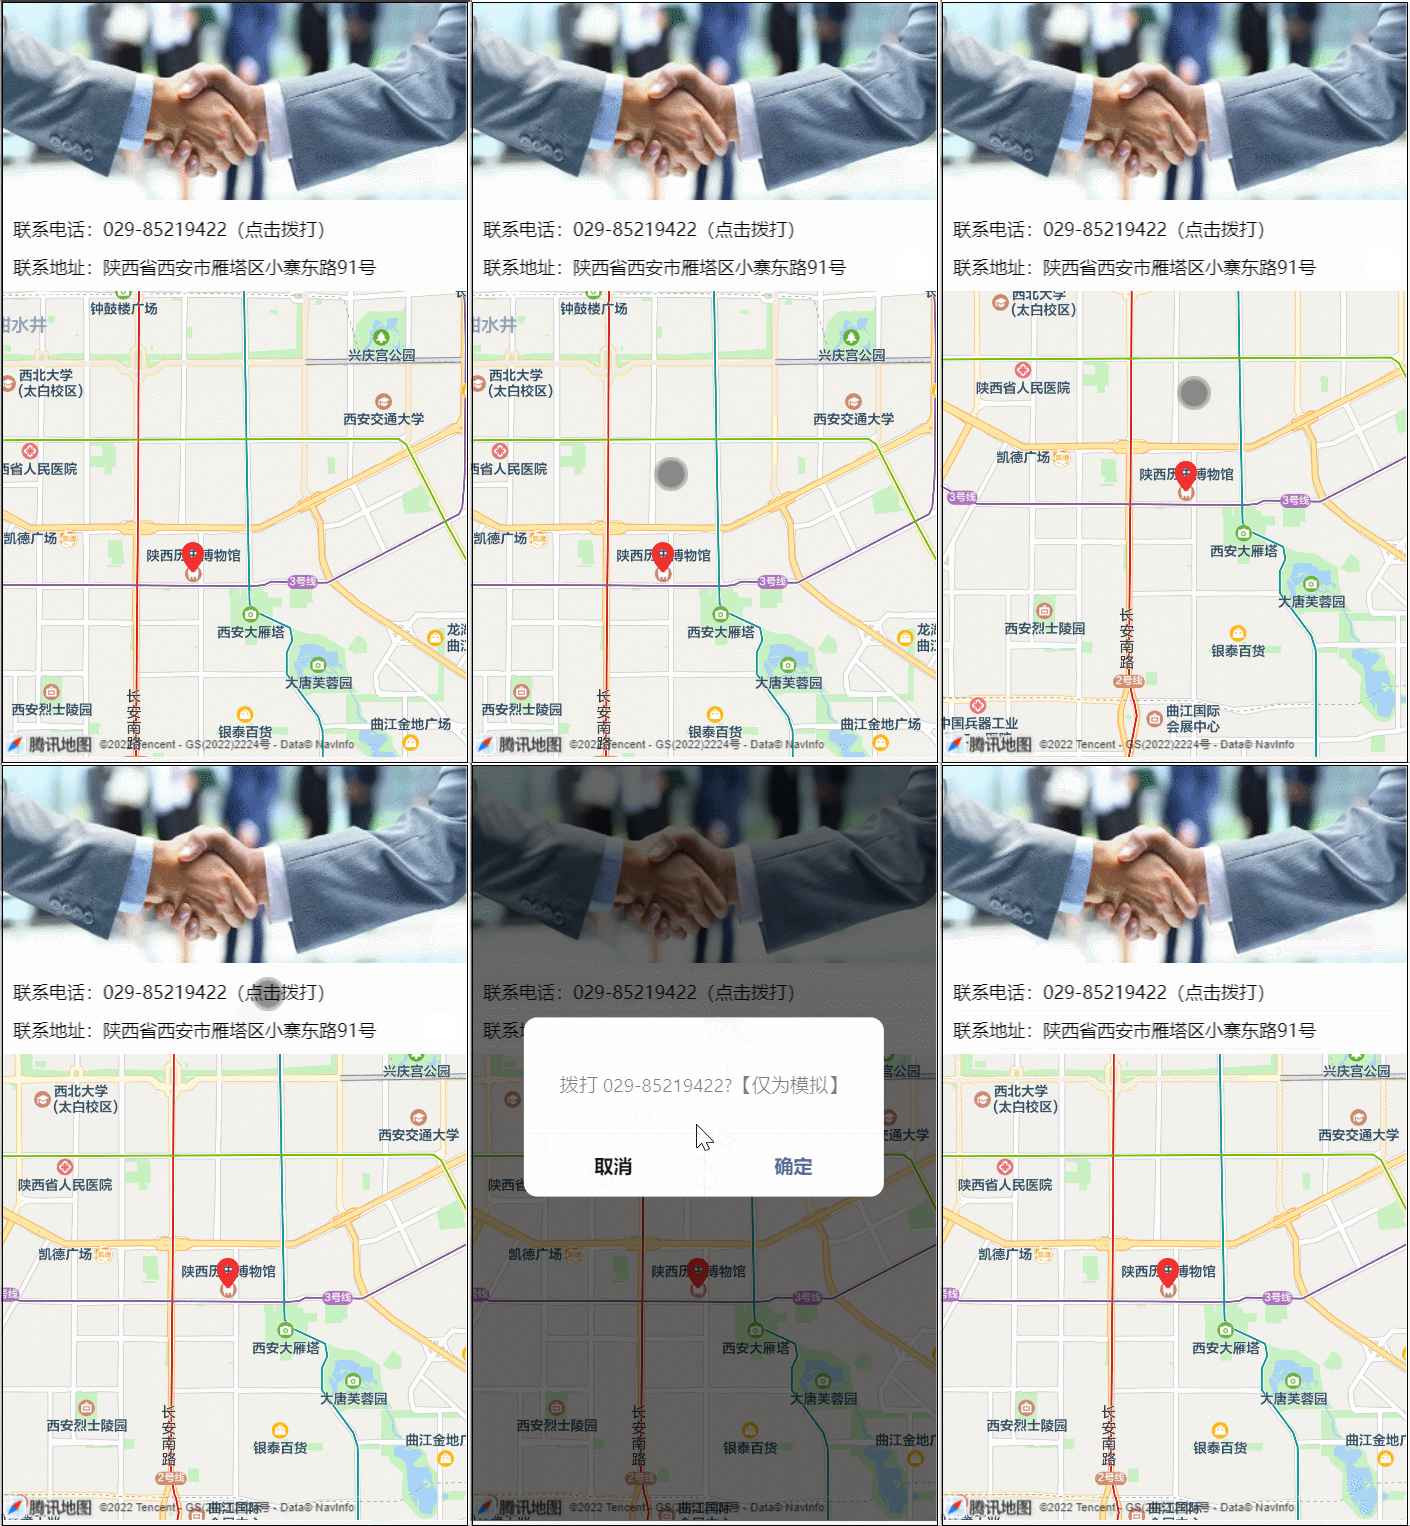
运行结果:

其中地图可以参考: uniapp组件-地图,因为坐标是固定的,一进到页面就会显示公司位置,我们使用属性longitude和latitude来设置经纬度
还可以用标记点来展示在地图上标记的位置,即使用markers传入数组即可
ps:想要知道一个位置的经纬度,可以使用:腾讯坐标拾取器

拨打电话,可以参考uniapp API:拨打电话,使用uni.makePhoneCall传入电话号码即可
社区图片
新建 pics.vue,记得在 pages.json 中设置 navigationBarTitleText标题为 ‘社区图片’
这个页面左侧需要用到scroll-view,这是一个可滚动视图区域。用于区域滚动。点击条目,展示右侧图片
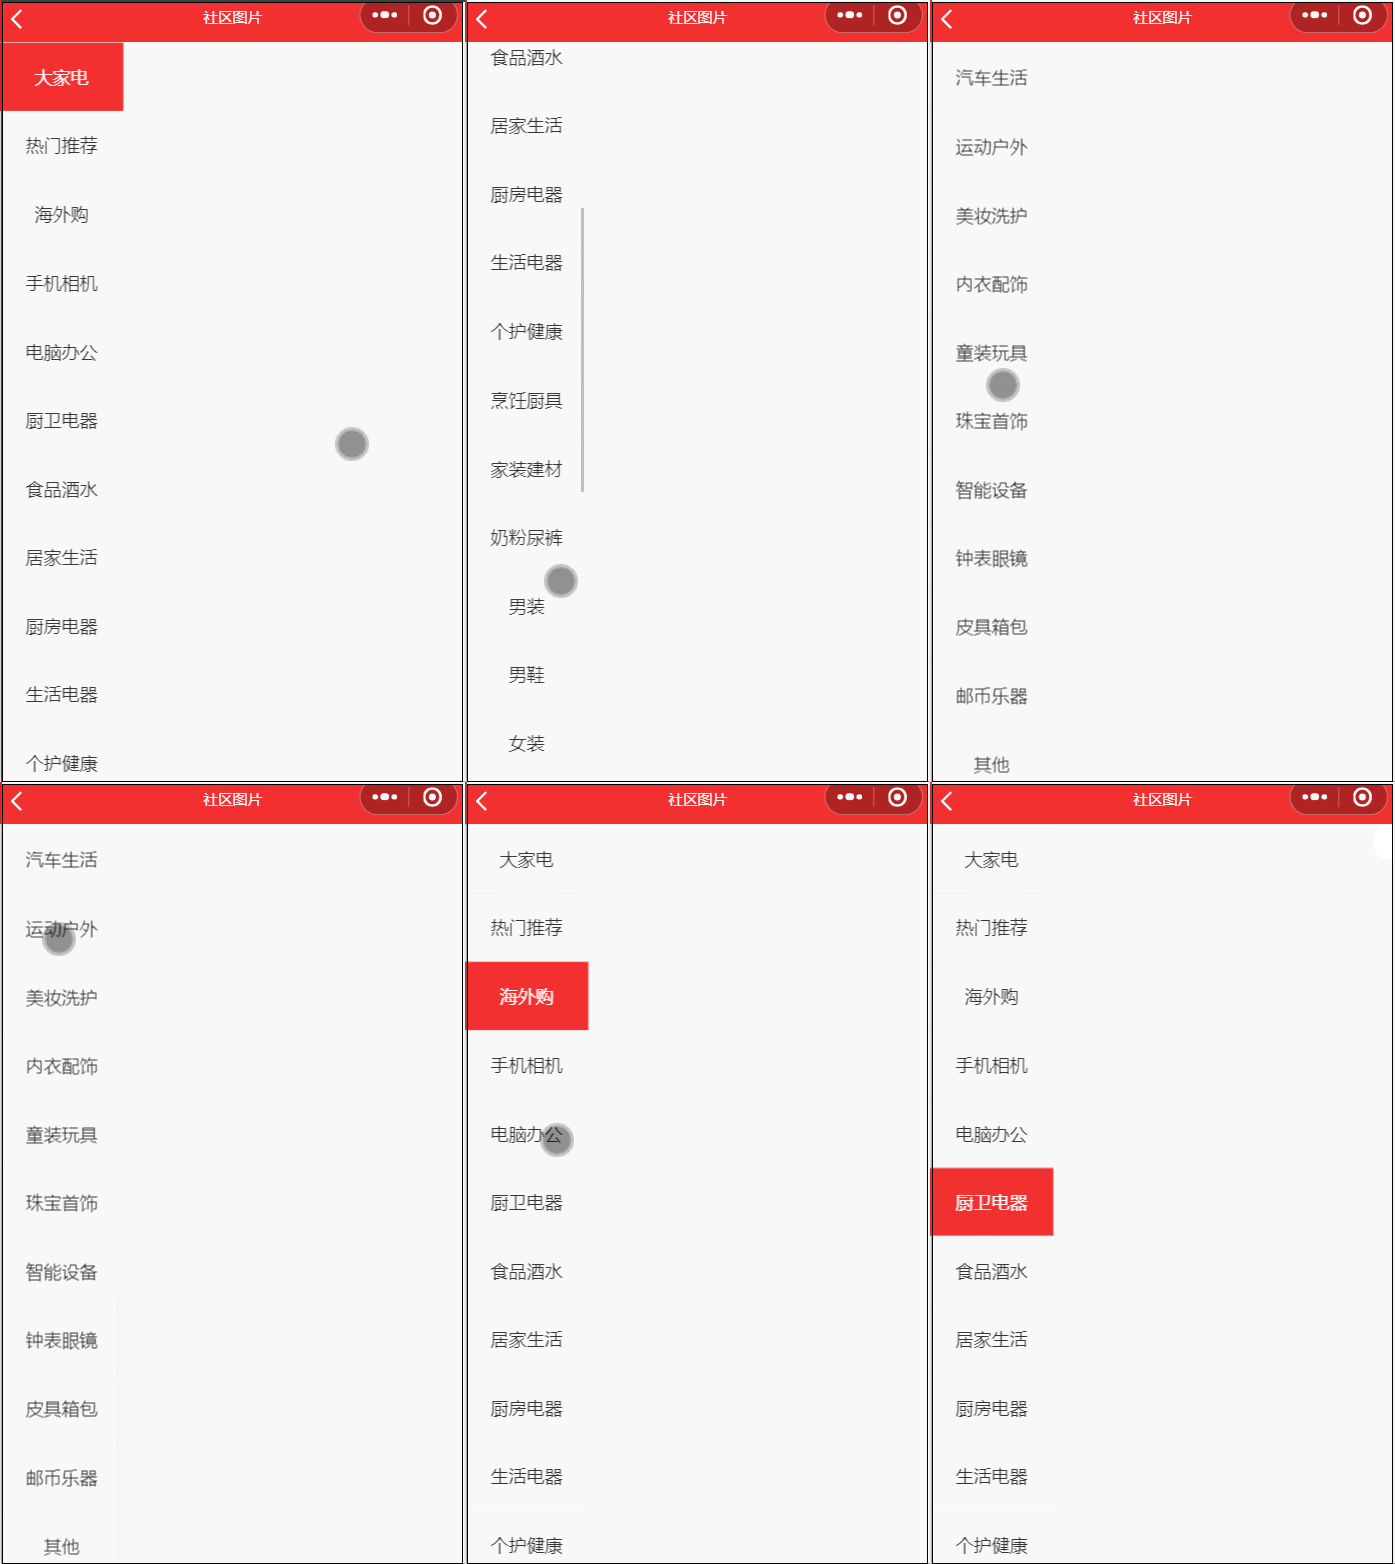
首先我们完成左侧分类展示,左侧的分类数据我们需要从接口获取,我们用到的接口全部来自:👉点击查看接口地址,我们可以使用商品分类这个接口。新增方法 getPics 请求接口,在生命周期 onLoad 中调用这个方法,然后我们打印返回结果 res
打印接口返回数据如下图:

在 data 中我们新增数组 cat[] 来接收返回的分类数组数据,然后在页面中使用 v-for来循环展示数据。展示数据时我们使用 class='active'来区分选中的分类。我们使用变量 active 来记录选中的索引,我们给分类增加点击事件,每次点击改变这个 active 的值即可
到目前为止的完整代码如下:
<template>
  <view class='pics'>
    <scroll-view class="left" scroll-y>
      <view
      @click="handleClick(index)"
      :class="active===index?'active':''"
      v-for="(item,index) in cats"
      :key="item.cat_id">
      {{item.cat_name}}
      </view>
    </scroll-view>
  </view>
</template>

<script>export default {
    data() {
      return {
        cats:[],
        active:0
      }
    },
    methods: {
      async getPics(){
        const res = await this.$myRequest({
          url:'/api/public/v1/categories'
        })
        this.cats = res.data.message
        //console.log(res)
      },
      handleClick(index){
        this.active = index
      }
    },
    onLoad() {
      this.getPics()
    }
  }</script>

<style lang="scss">page{
  height: 100%;
}
.pics{
  height: 100%;
  display: flex;
  .left{
    width: 200rpx;
    height: 100%;
    border-right: 1px solid #eee;
    view{
    height: 60px;
    line-height: 60px;
    color: #333;
    text-align: center;
    font-size:30rpx;
    border-top: 1px solid #eee;
  }
  .active{
    background: $shop-color;
    color: #fff;
  }
  }
}</style>

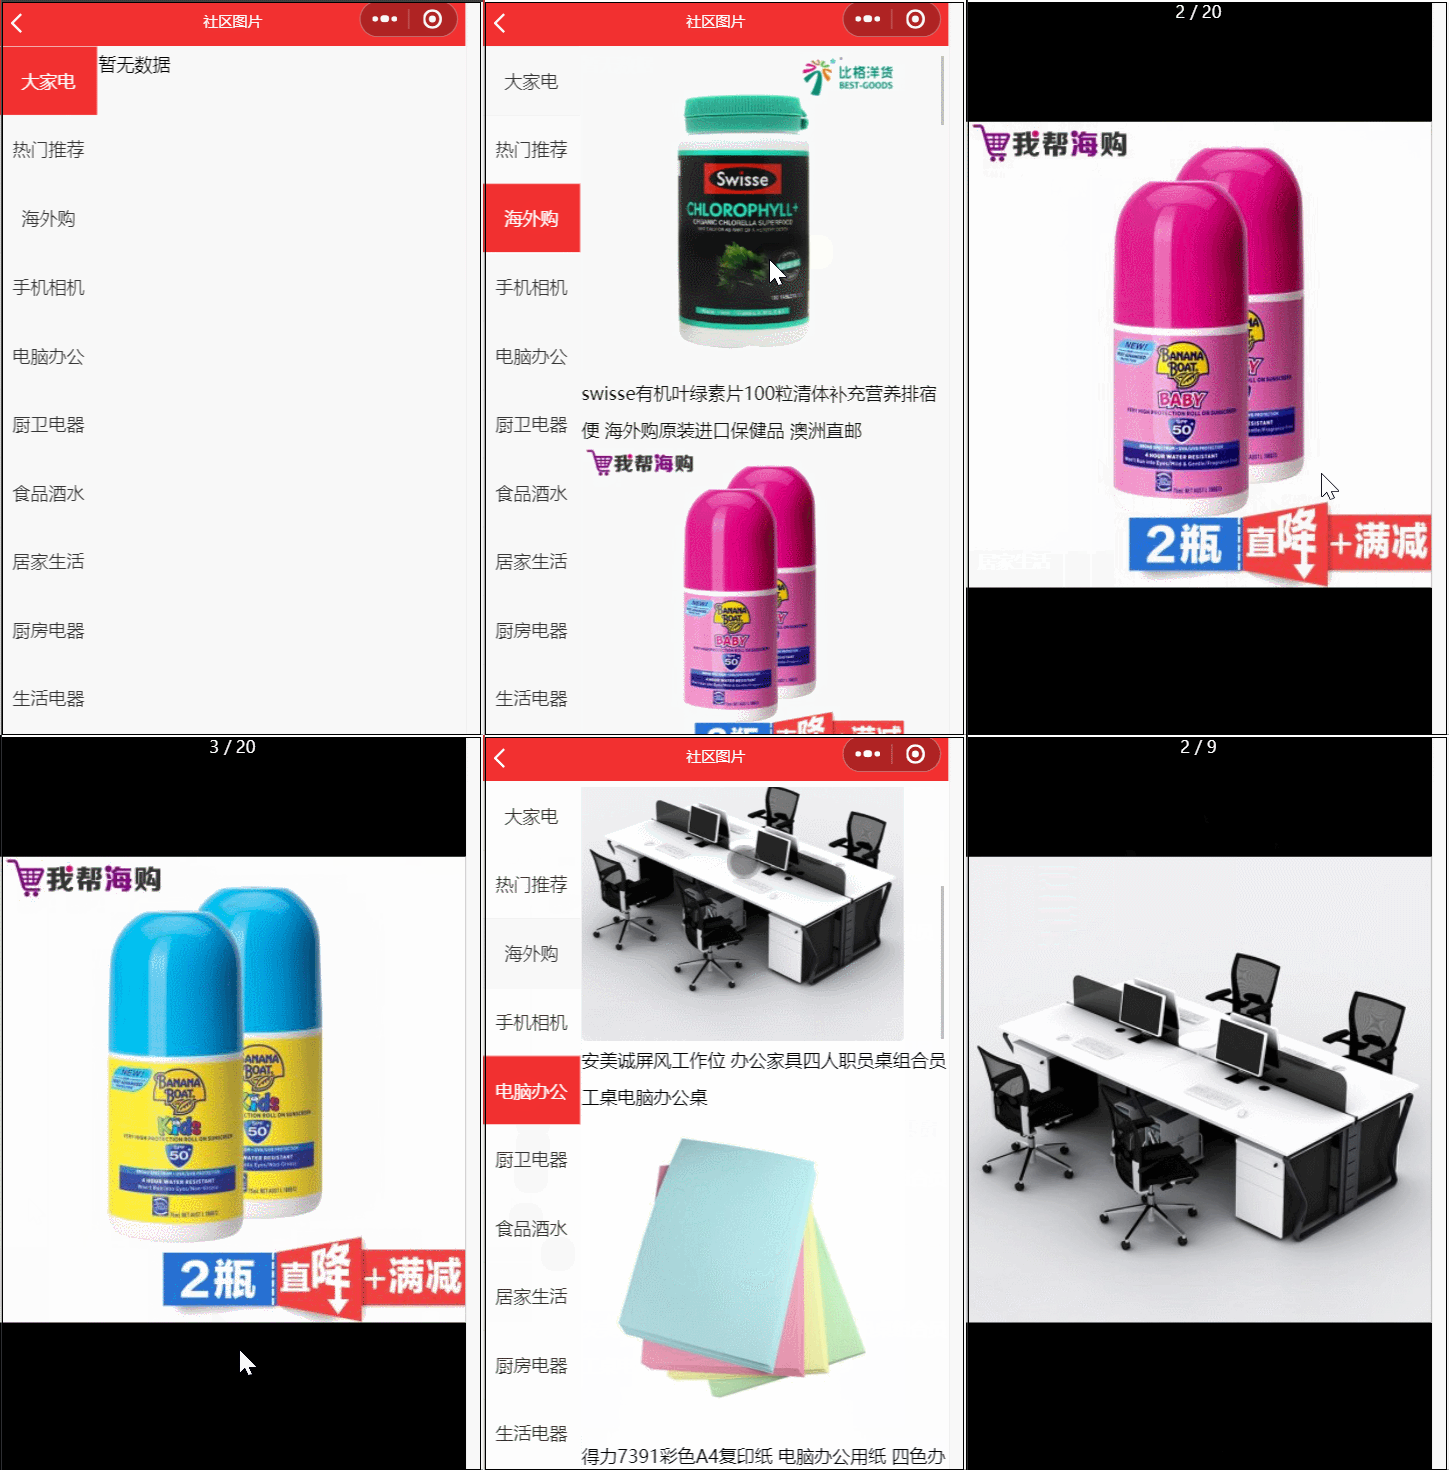
然后我们展示右侧的图片,应该点击左侧分类,然后调用相关接口获取数据展示出来即可,由于没有真实的获取社区图片的接口,我们使用之前用过的获取商品图片的接口来练习。之前点击左侧分类,调用 handleClick 方法传入了 index,现在多传入一个分类名称来进行搜索,调用接口传入这个分类名称的参数,获取数据,存入 secondData这个变量中,然后在页面中的新增的 scroll-view 中使用 v-for 循环展示
同时,页面中新增一个 暂无数据 的 text,当获取的数据为空时展示
还有一点需要注意,就是一进页面,默认选中的第一条数据大家电这个分类也是需要进行搜索的展示右侧数据的,所以,在第一次数据请求getPics时,也需要调用handleClick 这个方法
<template>
  <view class='pics'>
    ......
    <scroll-view class="right" scroll-y>
      <view class='item'
      v-for="(item,index) in secondData"
      :key="item.goods_id">
        <image :src="item.goods_small_logo"></image>
        <text>{{item.goods_name}}</text>
      </view>
      <text v-if="secondData.length === 0">暂无数据</text>
    </scroll-view>
  </view>
</template>

<script>export default {
    data() {
      return {
        cats:[],
        active:0,
        secondData:[]
      }
    },
    methods: {
      async getPics(){
        const res = await this.$myRequest({
          url:'/api/public/v1/categories'
        })
        this.cats = res.data.message
        //console.log(res)
        this.handleClick(0,this.cats[0].cat_name)
      },
      async handleClick(index,cat_name){
        this.active = index
        const res = await this.$myRequest({
          url: '/api/public/v1/goods/search',
          data: {
            query: cat_name
          }
        })
        this.secondData = res.data.message.goods
      }
    },
    onLoad() {
      this.getPics()
    }
  }</script>

<style lang="scss">......
.pics{
  ......
  .right{
    height:100%;
    width:520prx;
    margin: 10rpx auto;
    .item{
      image{
        width: 520rpx;
        height: 520rpx;
        border-radius: 5px;
        display: block;
      }
      text{
        font-size: 30rpx;
        line-height: 60rpx;
      }
    }
  }

}</style>
然后我们还需要做一个图片预览功能,这个功能我们之前是做过的,很简单,使用uni.previewImage(OBJECT)即可
我们给图片增加一个click事件 @click="previewImg(item.goods_small_logo)",然后新增方法
previewImg(current){
        const urls = this.secondData.map(item=>{
          return item.goods_small_logo
        })

        uni.previewImage({
          current,
              urls: urls
            });
      }


