背景
在逛 github 时突然发现另一个眼前一亮的可视化库 —— bqplot,同样提供了网络图的可视化 Python 接口,而且功能更加强大更好看,因此学习下 bqplot 中较为关注的 network graph 网络图可视化方法。
bqplot
「bqplot」 是基于图形语法构建的用于 Jupyter 的交互式 2D 绘图库,具有以下特点:
- 用 Python 语言提供统一的可视化框架;
- bqplot 利用 widget 基础提供第一个在 Python 和 JAVAScript 代码之间通信的绘图库;
- bqplot 的可视化是基于 D3.js 和 SVG 的,支持快速交互和漂亮的动画;
源码仓库:https:///bqplot/bqplot
官方文档:https://bqplot.readthedocs.io/
bqplot 提供非常多的交互图绘制接口,支持的图表格式如下所示:
- Bars: Bar mark
- Bins: Backend histogram mark
- Boxplot: Boxplot mark
- Candles: OHLC mark
- FlexLine: Flexible lines mark
- 「Graph: Network mark」
- GridHeatMap: Grid heatmap mark
- HeatMap: Heatmap mark
- Hist: Histogram mark
- Image: Image mark
- Label: Label mark
- Lines: Lines mark
- Map: Geographical map mark
- Market Map: Tile map mark
- Pie: Pie mark
- Scatter: Scatter mark
- Mega Scatter: webgl-based Scatter mark
其它类型图表形式暂不关注,本文主要学习下其中的 「Network graph」 绘制方法。
Graph:Network mark 中需要提供节点和边数据。
节点属性如下
Attribute | Type | Description | Default |
label | str | node label | mandatory attribute |
label_display | {center, outside, none} | label display options | center |
shape | {circle, ellipse, rect} | node shape | circle |
shape_attrs | dict | node SVG attributes | {'r': 15} |
边属性如下
Attribute | Type | Description | Default |
source | int | source node index | mandatory attribute |
target | int | target node index | mandatory attribute |
value | float | value of the link. Use np.nan if you do not want a link | - |
绘图实践
安装方式:pip install bqplot
首先导入必要的库
import numpy as np
from bqplot import Graph, LinearScale, ColorScale, Figure, Tooltip
from ipywidgets import Layout

fig_layout = Layout(width='600px', height='600px')
👇🏻以下学习下图各个属性的设置。
有向图
如果不指定节点位置默认为 force layout。
node_data = [
    dict(label='A', shape='rect'),
    dict(label='B', shape='ellipse'),
    dict(label='C', shape='ellipse'),
    dict(label='D', shape='rect'),
    dict(label='E', shape='ellipse'),
    dict(label='F', shape='circle'),
    dict(label='G', shape='ellipse'),
]
link_data = [{'source': s, 'target': t} for s, t in np.random.randint(0, 7, (10, 2)) if s != t]
graph = Graph(node_data=node_data, link_data=link_data, charge=-600, colors=['lightblue'] * 7)
graph.link_type = 'arc' # arc, line, slant_line
Figure(marks=[graph], layout=fig_layout)
效果图如下:

固定位置
可以根据 x, y 坐标设定每个节点的绝对位置,注意设定位置后节点不可拖动。
node_data = list('ABCDEFG')

#using link matrix to set links
link_matrix = np.zeros((7, 7))
xs = LinearScale()
ys = LinearScale()
x = [80, 150, 200, 250, 250, 250, 300]
y = [3, 1.5, 5, 9, 7, 5, 2]
graph = Graph(node_data=node_data, link_matrix=link_matrix, link_type='arc',
              colors=['lightblue'] * 7,
              scales={'x': xs, 'y': ys, }, x=x, y=y,
              directed=True)

Figure(marks=[graph], layout=fig_layout)
效果图如下:

颜色模式
「点颜色模式」:设定图 color 属性值。
node_data = list('ABCDEFG')

#using link matrix to set links
link_matrix = np.zeros((7, 7))
xs = LinearScale(min=0, max=500)
ys = LinearScale(min=0, max=10)
cs = ColorScale(scheme='Reds')
x = [100, 200, 200, 300, 300, 300, 300]
y = [2, .5, 4, 8, 6, 4, 1]
graph3 = Graph(node_data=node_data, link_matrix=link_matrix, link_type='line',
              color=np.random.rand(7),
              scales={'x': xs, 'y': ys, 'color': cs}, x=x, y=y,
              directed=False)
Figure(marks=[graph3], layout=fig_layout)
效果图如下:

「边颜色模式」:设定图 link_color 属性值。
node_data = list('ABCDEFG')

link_data = [{'source': s, 'target': t, 'value': np.random.rand()} for s, t in np.random.randint(0, 7, (20, 2))]

xs = LinearScale()
ys = LinearScale()
lcs = ColorScale(scheme='Reds')
x = [100, 200, 200, 300, 300, 300, 300]
y = [2, .5, 4, 8, 6, 4, 1]
graph4 = Graph(node_data=node_data, link_data=link_data, link_type='line',
              colors=['lightblue'], directed=False,
              scales={'x': xs, 'y': ys, 'link_color': lcs},
              x=x, y=y, color=np.random.rand(7))
Figure(marks=[graph4], layout=fig_layout)
效果图如下:

定制节点
可以自定义节点属性及其节点悬浮和点击的 Action。
node_data = [
    {'label': 'A', 'shape': 'circle', 'shape_attrs': {'r': 20}, 'foo': 1},
    {'label': 'B', 'shape': 'rect', 'shape_attrs': {'rx': 10, 'ry': 10, 'width': 40}, 'foo': 2},
    {'label': 'C', 'shape': 'ellipse', 'foo': 4},
    {'label': 'D', 'shape': 'rect', 'shape_attrs': {'width': 30, 'height': 30}, 'foo': 100},
]

link_data = [{'source': s, 'target': t, 'value': np.random.rand()} for s, t in np.random.randint(0, 4, (8, 2))]

graph5 = Graph(node_data=node_data, link_data=link_data, link_distance=150)
Figure(marks=[graph5], layout=fig_layout)
节点添加 tooltips:
tooltip = Tooltip(fields=['label', 'foo'], formats=['', '', ''])
graph5.tooltip = tooltip
为 tooltip 添加一个折线图:
import bqplot.pyplot as plt
plt.clear()
line = plt.plot(np.cumsum(np.random.randn(20)))
# hover on nodes to see the plot
graph5.tooltip = plt.current_figure()
设置选中、悬浮操作:
graph5.hovered_style = {'stroke': 'red'}
graph5.unhovered_style = {'opacity': '0.4'}

graph5.selected_style = {'opacity': '1', 'stroke': 'white', 'stroke-width': '2.5'}
graph5.selected
设置点击事件:
def print_event(self, target):
    print(target)

graph5.on_background_click(print_event)
graph5.on_element_click(print_event)
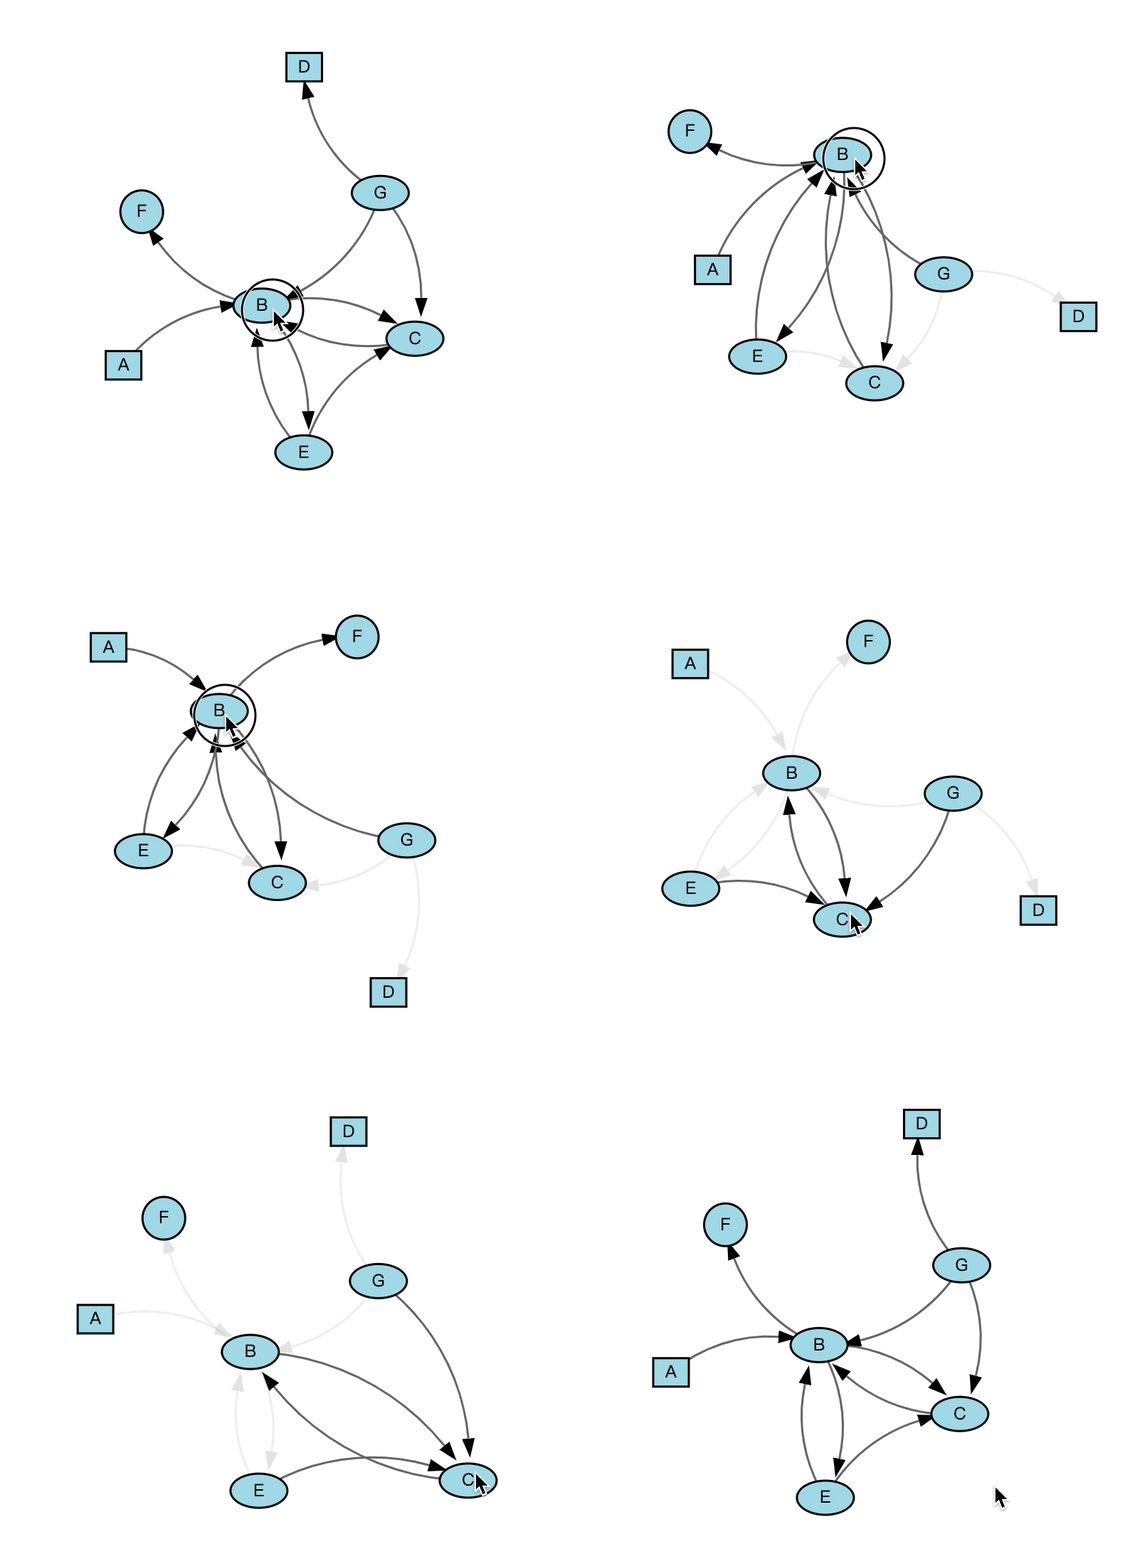
效果如下:

总结
整体而言,bqplot 符合大部分绘图需求,存在的问题是网络图只能在 Jupyter 中交互,保存时格式只有 png 或者 svg,期待后续功能迭代...


