
在RHEL5中搭建NIS+autofs服务
1、主机名及IP地址
|
角色名称
|
主机名
|
IP地址
|
OS 版本
|
|
NIS Server(master)
|
station100.example.com
|
192.168.0.100
|
RHEL5.8
|
|
NIS Server(slave)
|
station101.example.com
|
192.168.0.101
|
|
|
Client1
|
station200.example.com
|
192.168.0.200
|
|
|
Client2
|
station201.example.com
|
192.168.0.201
|
2、NIS Server主服务器master软件安装与配置
- 软件安装
- yp-tools-2.9-2.el5
- ypbind-1.19-12.el5_6.1
- ypserv-2.19-9.el5
- portmap-4.0-65.2.2.1
- portmap服务启动并设定为开机启动
- NIS服务没有固定的端口号,依赖于portmap服务
- # /etc/init.d/portmap start
- # netstat -tl |grep sunrpc
- tcp 0 0 *:sunrpc *:* LISTEN
- # chkconfig portmap on
- # chkconfig --list|grep portmap
- portmap 0:off 1:off 2:on 3:on 4:on 5:on 6:off
- 配置和启动time服务
- # cat /etc/xinetd.d/time-stream |grep disable
- disable = no
- # cat /etc/xinetd.d/time-dgram |grep disable
- disable = no
- # /etc/init.d/xinetd restart
- # chkconfig xinetd on
- # netstat -tul|grep time
- tcp 0 0 *:time *:* LISTEN
- udp 0 0 *:time *:*
- 创建NISDOMAIN
- # nisdomainname example.com
- # cat /etc/sysconfig/network
- NETWORKING=yes
- NETWORKING_IPV6=no
- HOSTNAME=station100.example.com
- GATEWAY=192.168.0.254
- NISDOMAIN=example.com
- 主配置文件的配置
- # cat /etc/ypserv.conf |grep -vE '^#|^$'
- dns: no
- files: 30
- slp: no
- slp_timeout: 3600
- xfr_check_port: yes
- #允许本地任何域的成员访问nis共享的任意数据库
- 127.0.0.0/255.255.255.0 : * : * : port
- #允许192.168.0.0/24网段的任意域的任意成员访问nis共享的任意数据库
- 192.168.0.0/255.255.255.0 : * : * : port
- #拒绝其他所有网段访问任意数据库
- * : * : * : deny
- 创建网络信任群组
由于前面主配置文件已经配置了访问的范围,所以不在此处继续配置,只需要创建文件即可
- # touch /etc/netgroup
- 配置共享的数据库
把不需要共享的给注释掉
- # cat /var/yp/Makefile |grep '^all'
- all: passwd group shadow hosts rpc services #netid protocols mail \
- 启动ypserv服务
- # /etc/init.d/ypserv start
- Starting YP server services:
- service: [ OK ]
- # /etc/init.d/yppasswdd start
- Starting YP passwd service: [ OK ]
- #rpcinfo -u localhost ypserv
program 100004 version 1 ready and waiting
program 100004 version 2 ready and waiting
# rpcinfo -u localhost yppasswd
program 100009 version 1 ready and waiting- #chkconfig ypserv on
- #chkconfig yppasswdd on
- 制作数据库发布数据
- #/usr/lib64/yp/ypinit -m
- At this point, we have to construct a list of the hosts which will run NIS
- servers. station100.example.com is in the list of NIS server hosts. Please continue to add
- the names for the other hosts, one per line. When you are done with the
- list, type a <control D>. <=此处按control+d
- next host to add: station100.example.com
- next host to add:
- The current list of NIS servers looks like this:
- station100.example.com
- Is this correct? [y/n: y]
- We need a few minutes to build the databases...
- Building /var/yp/example.com/ypservers...
- Running /var/yp/Makefile...
- gmake[1]: Entering directory `/var/yp/example.com'
- Updating passwd.byname...
- Updating passwd.byuid...
- Updating group.byname...
- Updating group.bygid...
- Updating shadow.byname... Ignored -> merged with passwd
- Updating hosts.byname...
- Updating hosts.byaddr...
- Updating rpc.byname...
- Updating rpc.bynumber...
- Updating services.byname...
- Updating services.byservicename...
- gmake[1]: Leaving directory `/var/yp/example.com'
- station100.example.com has been set up as a NIS master server.
- Now you can run ypinit -s station100.example.com on all slave server.
3、客户端软件安装与配置
- 客户端软件安装
- yp-tools-2.9-2.el5
- ypbind-1.19-12.el5_6.1
- portmap-4.0-65.2.2.1
- portmap服务启动并设定为开机启动
- # /etc/init.d/portmap start
- # netstat -tl |grep sunrpc
- tcp 0 0 *:sunrpc *:* LISTEN
- # chkconfig portmap on
- # chkconfig --list|grep portmap
- portmap 0:off 1:off 2:on 3:on 4:on 5:on 6:off
- 创建NISDOMAIN
- # nisdomainname example.com
- # cat /etc/sysconfig/network
- NETWORKING=yes
- NETWORKING_IPV6=no
- HOSTNAME=station100.example.com
- GATEWAY=192.168.0.254
- NISDOMAIN=example.com
- 配置/etc/hosts文件,将NIS Server的对应关系加进去
- # cat /etc/hosts
- # Do not remove the following line, or various programs
- # that require network functionality will fail.
- 127.0.0.1 localhost.localdomain localhost
- ::1 localhost6.localdomain6 localhost6
- 192.168.0.100 station100.example.com station100
- 192.168.0.101 station101.example.com station101
- 客户端配置
- [root@station200 ~]# cat /etc/yp.conf |grep -v '^#'
domain example.com
ypserver station100.example.com- [root@station200 ~]# /etc/init.d/ypbind start
- Binding to the NIS domain:
- Listening for an NIS domain server.
- [root@station200 ~]# chkconfig ypbind on
- [root@station200 ~]# rpcinfo -p localhost|grep ypbind
- 100007 2 udp 619 ypbind
- 100007 1 udp 619 ypbind
- 100007 2 tcp 622 ypbind
- 100007 1 tcp 622 ypbind
- 修改密码验证方式
- 在passwd文件最后一行添加如下信息
- [root@station200 ~]# tail -n 1 -f /etc/passwd
- +::::::
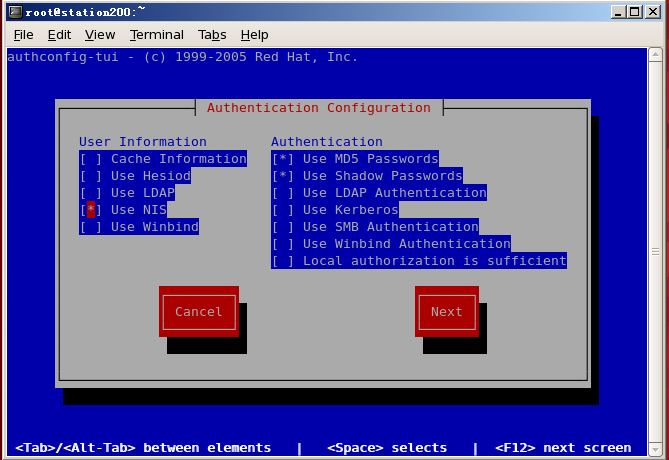
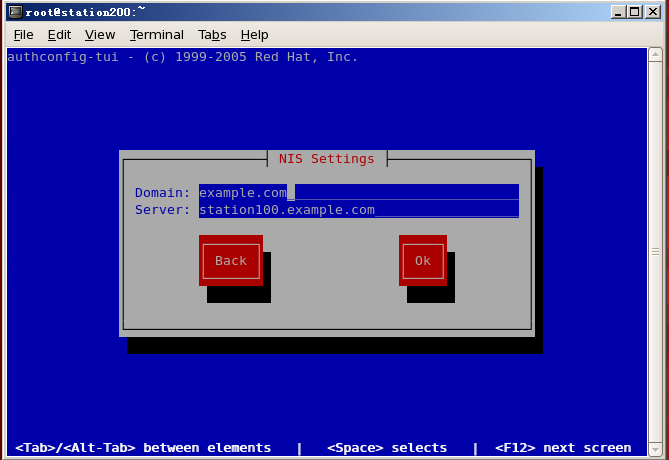
- nsswitch文件配置更改
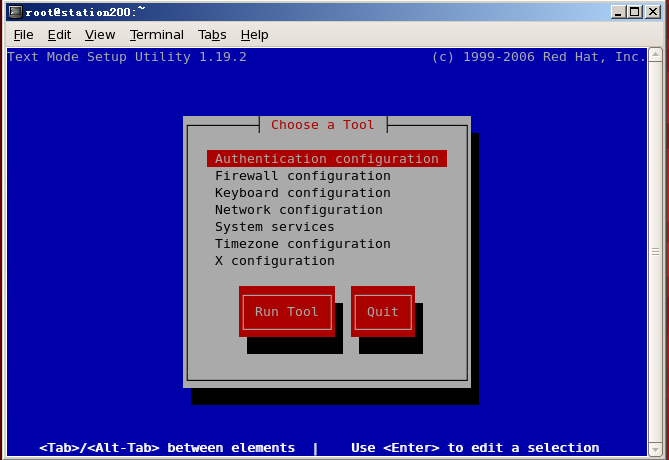
- [root@station200 ~]# setup
- 重启ypbind进程
- # service ypbind restart
- Shutting down NIS services: [ OK ]
- Binding to the NIS domain: [ OK ]
- Listening for an NIS domain server..
- 客户端测试及查询
- [root@station200 ~]# yptest
- Test 1: domainname
- Configured domainname is "example.com"
- Test 2: ypbind
- Used NIS server: station100.example.com
- Test 3: yp_match
- WARNING: No such key in map (Map passwd.byname, key nobody)
- ......
- Test 9: yp_all
- 1 tests failed
- #只有一个nobody用户测试失败,其它都正确是测试通过
- ypwhich命令
- #ypwhich显示nis server名称
- # ypwhich
- station100.example.com
- #-x查询服务端共享了那些数据库
- # ypwhich -x
- Use "ethers" for map "ethers.byname"
- Use "aliases" for map "mail.aliases"
- Use "services" for map "services.byname"
- Use "protocols" for map "protocols.bynumber"
- Use "hosts" for map "hosts.byname"
- Use "networks" for map "networks.byaddr"
- Use "group" for map "group.byname"
- Use "passwd" for map "passwd.byname"
- ypcat命令
- ypcat后跟数据库名称显示该数据库信息
- [root@station200 ~]# ypcat hosts
- 192.168.0.100 station100.example.com station100
- 192.168.0.202 station202.example.com station202
- 192.168.0.201 station201.example.com station201
- 192.168.0.101 station101.example.com station101
- 192.168.0.100 station100.example.com station100
- 192.168.0.203 station203.example.com station203
- 127.0.0.1 localhost.localdomain localhost
4、Autofs配置
以上就完成了nis的配置,此时在客户端切换用户时会发现主目录无法挂载,最好使用autofs来实现自动挂载。
- autofs服务端的配置
- [root@station100 ~]# cat /etc/exports
- /home 192.168.0.0/255.255.255.0(rw,sync)
- [root@station100 ~]# exportfs -rv
- exporting 192.168.0.0/255.255.255.0:/home
- [root@station100 ~]# /etc/init.d/nfs start
- [root@station100 ~]# chkconfig nfs on
- [root@station201 ~]# cat /etc/auto.master |grep home
- /home /etc/auto.home
- [root@station200 ~]# cat /etc/auto.home
- * -rw,soft,intr 192.168.0.100:/home/&
- [root@station201 ~]# chkconfig autofs on
- [root@station201 ~]# service autofs restart
- Stopping automount: [ OK ]
- Starting automount: [ OK ]


