目录
- 前情提要
- 搭建地图障碍物
- 碰撞触发器实现攻击效果
- 人物行走动画
前情提要
开发日志(一)概括讲述了从0开始的过程,也就是走准备 开发环境 ->学习C#基础 -> 熟悉Unity基本操作 -> 开始实战演练的步骤。实战选择自己设计一个简单的2D RPG游戏。而到3月13日,初步实现了人物的行走与Tilemap背景。
搭建地图障碍物
除了一个一个Object搭,然后赋予碰撞箱之外,Untiy 2D也提供了Tilemap的碰撞。这样就可以简单地设计平面地图了。
碰撞触发器实现攻击效果
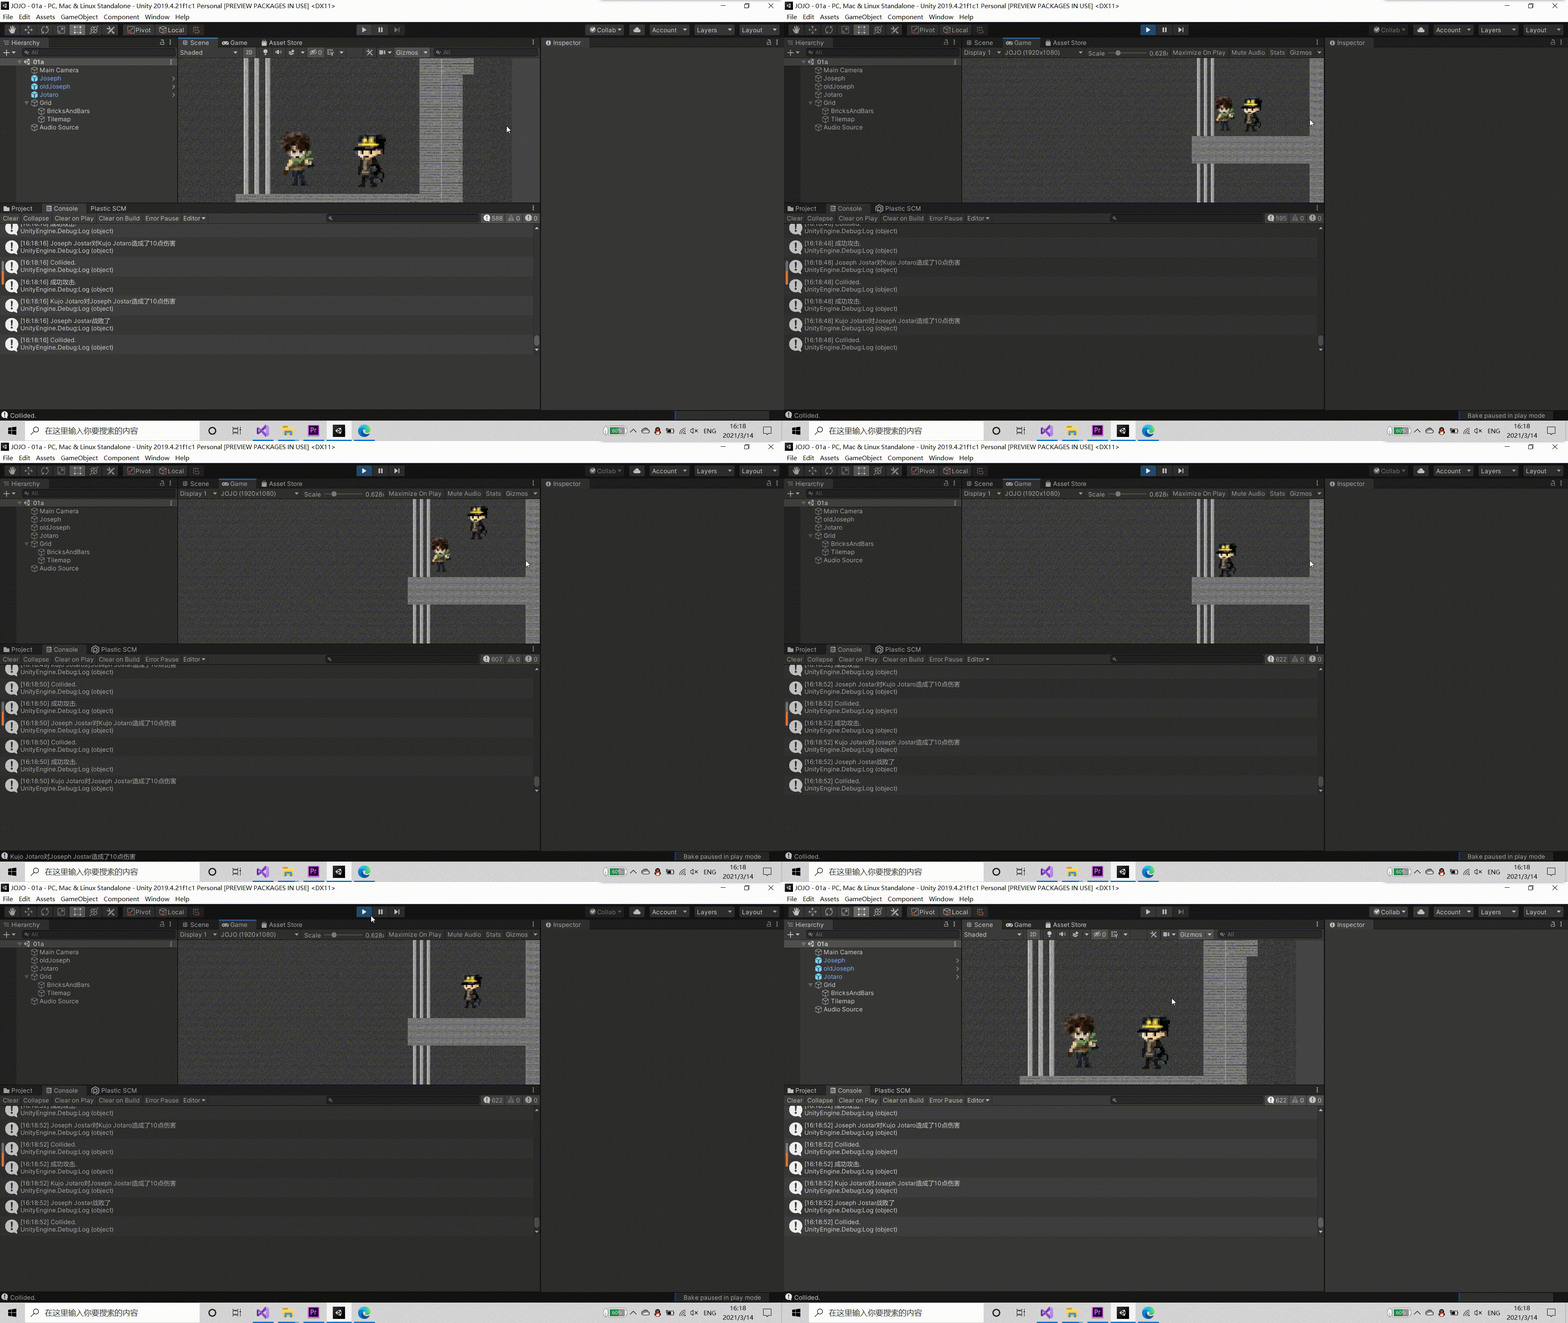
在存储Jotaro信息的脚本文件中加入下列代码,然后所有拥有Player这个tag的物体在于Jotaro相撞时都会触发攻击效果。另外,其中我还加入了attackSound,即攻击音效。中间还混杂了调试信息、计算生命值和防御力等东西……
public void OnCollisionEnter2D(Collision2D coll)
    {
        Debug.Log("Collided.");
        if(coll.gameObject.tag == "Player")
        {
            System.Random r1 = new System.Random();
            int index = r1.Next(0, attackSound.Length);
            float dp = coll.gameObject.GetComponent<Player>().defensivePower;
            source.clip = attackSound[index];
            source.Play();
            Debug.Log("成功攻击.");
            float damage = attackDamage > dp ? attackDamage - dp : 0;
            coll.gameObject.GetComponent<Player>().health -= damage;
            strength -= damage * 0.1f;
            Debug.Log(nickname + "对" + coll.gameObject.GetComponent<Player>().nickname + "造成了" + damage.ToString("G") + "点伤害");
        }
    }
攻击实现,另加有生命值<=0即消失的脚本。
(另一个人是年轻Joseph)

人物行走动画
这里需要用到Unity中的Animator控件。为了方便制作,我是以(一)中那个移动动画为controller,在物体Jotaro下开了一个Animator。
打开Animator控制框。
animator的作用是在各种动画之间来回切换,如图:

Entry表示主体生成。其他的条件动画都需要从Entry出发。要制作行走动画,我们需要设置一些state.注意,绿色的表示入口,而橙色的表示默认状态。首先右键单击空白处,新建一个Empty的State。取个名字,这里是“New State”。然后修改这个state,在motion选项中,选择你需要的动画。(需要先制作好animation)

右键单击橙色框,选择“Make Transition”,出现箭头,将其指向“New State”。
接下来我们需要设置参数,用来控制箭头的流动。

点选左边的"Parameters"(参数),点击号,新建参数,随便取个名字,数字值是其初始值。
接着,打开物体Jotaro的移动脚本,在移动时修改animator中的参数,更改后的BaseMove.cs如下:
using System.Collections;
using System.Collections.Generic;
using UnityEngine;

public class BaseMove : MonoBehaviour
{
    // Start is called before the first frame update
    public float MoveSpeed = 15.0f;

    void Start()
    {

    }

    // Update is called once per frame
    void Update()
    {

    }

    void FixedUpdate()
    {
        ///
        ///
        Animator ator = gameObject.GetComponent<Animator>();

        if (Input.GetKey(KeyCode.W) || Input.GetKey(KeyCode.UpArrow))
        {
            transform.Translate(0, 1 * MoveSpeed * Time.deltaTime, 0, Space.Self);
        }
        if (Input.GetKey(KeyCode.S) || Input.GetKey(KeyCode.DownArrow))
        {
            transform.Translate(0, -1 * MoveSpeed * Time.deltaTime, 0, Space.Self);
        }
        if (Input.GetKey(KeyCode.A) || Input.GetKey(KeyCode.LeftArrow))
        {
            transform.Translate(-1 * MoveSpeed * Time.deltaTime, 0, 0, Space.Self);
        }
        if (Input.GetKey(KeyCode.D) || Input.GetKey(KeyCode.RightArrow))
        {
            transform.Translate(1 * MoveSpeed * Time.deltaTime, 0, 0, Space.Self);
        }

		// 动画更改检测
        if (Input.GetKey(KeyCode.W) || Input.GetKey(KeyCode.UpArrow))
        {
            ator.SetInteger("state", 1);
        }
        else if (Input.GetKey(KeyCode.S) || Input.GetKey(KeyCode.DownArrow))
        {
            ator.SetInteger("state", 1);
        }
        else if (Input.GetKey(KeyCode.A) || Input.GetKey(KeyCode.LeftArrow))
        {
            ator.SetInteger("state", 1);
        }
        else if (Input.GetKey(KeyCode.D) || Input.GetKey(KeyCode.RightArrow))
        {
            ator.SetInteger("state", 1);
        }
        else
        {
            ator.SetInteger("state", 0);
        }
    }
}
最后,记得改改箭头的参数条件。选择橙框指向动作框的箭头,将其条件设置为state equals 1。

记得添加一条逆向箭头,条件设置为state equals 0,这样在停止移动时,动画又会变回静止动画。

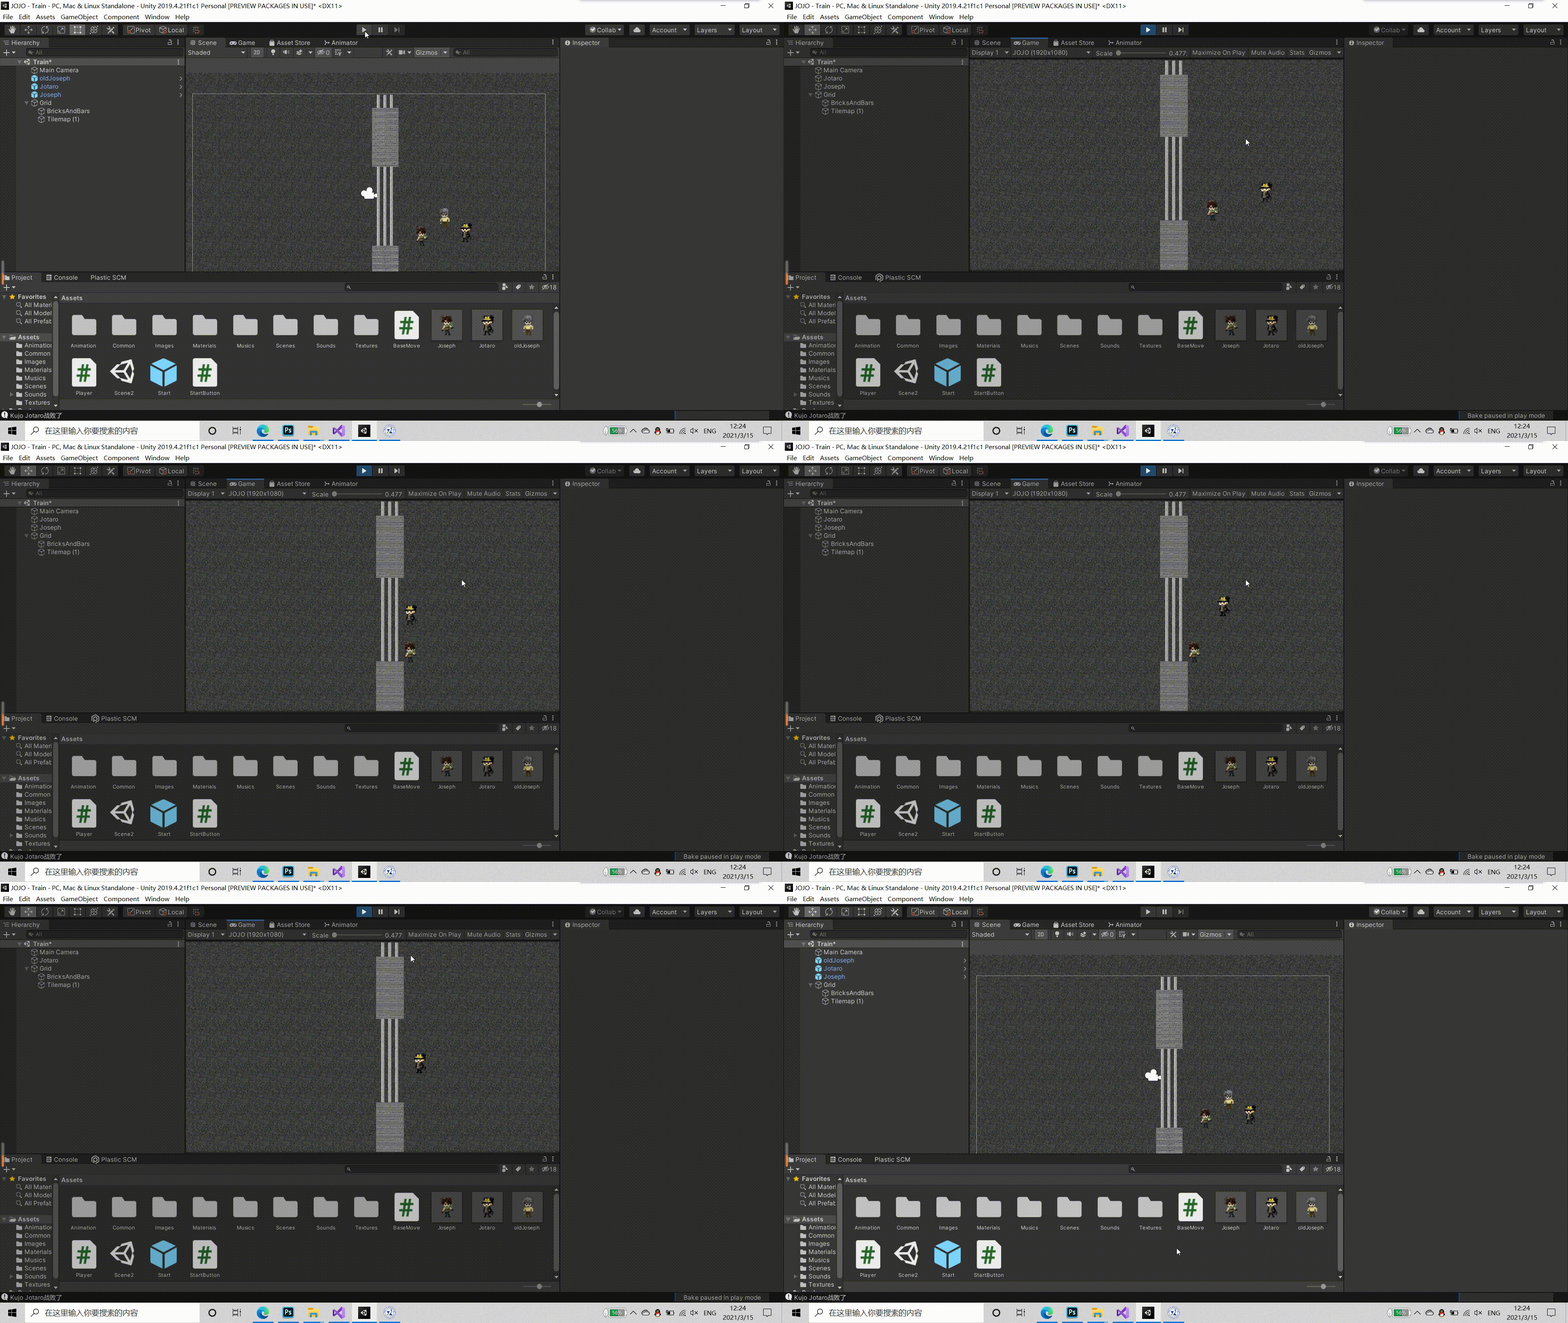
这个时候的承太郎终于有走路的动画啦~


