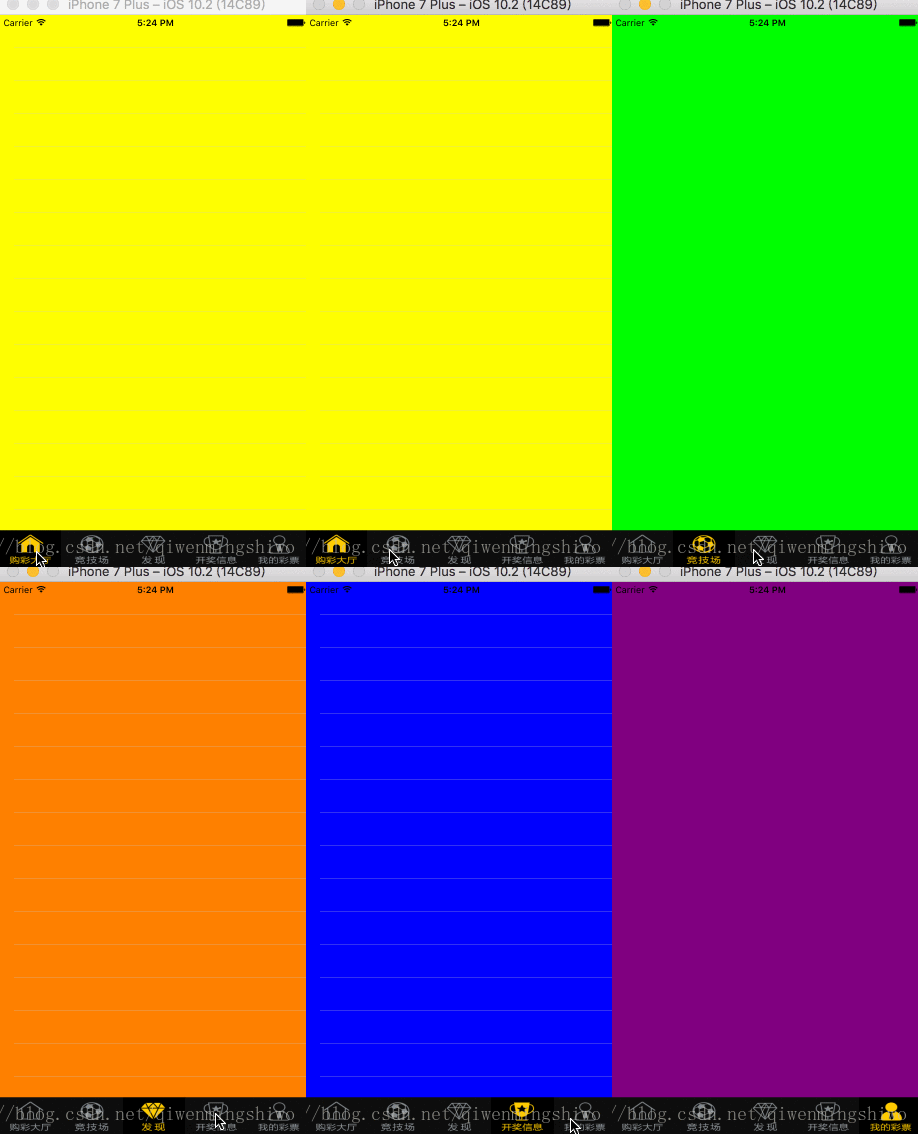
- 彩票02自定义tabBar
- 一问题分析
- 二自定义tabBar
- 1 简单分析
- 2 QWMTabBarButtonm
- 2 QWMTabBarh
- 3 QWMTabBarm
- 三图示
彩票02——自定义tabBar
一、问题分析
前面的示例中,我们发现系统的tabBar 中的子控件的高度超过了 tabBar的高度。中间有空隙,一句话:满足不了我们的需求。
解决方式:
方式1:移除系统的tabBar,添加自己的tabBar
1. TabBar用UIView代替(因为系统的TabBar不好用)
2. 子控键用UIButton代替
3. 切换子控制器 selectedIndex方式2:移除系统tabBar子控件
二、自定义tabBar
2.1 简单分析
- 子控件的个数、选中的图片、默认的图片等是由外界决定的,那么他们应该提供一个方法来设置相关的东西。
- 我们得到了个数了以后,应该是使用代码来子控件,这个子控件使用 UIButton。这个button是可以相互切换的,因此我们应该添加点击事件。点击的选中,上一次选中的置为默认状态,那么我们需要一个变量来记住上一次选中的。
- 我们添加的子控件,需要铺满我们的tabBar ,需要我们自己计算每个控件的位置。我们可以知道子控件的高度是tabBar的高度,子控件的宽度是 tabBar/我们添加的个数。这个控件的x值等于:序号*子控件的宽度(序号从0开始)。
- 当我们点击了 子控件。表示我们选中了这个选项,我们需要通知外界,我选择改变了,那么我们需要添加一个协议。用来通知外界当前选中的item。
==问题==:我们发现我们的子控件,居然有高亮状态,我们来个简单粗暴的,直接自定义子控件,屏蔽掉高亮方法。
2.2 QWMTabBarButton.m
//
//  QWMTabBarButton.m
//  03_UIView79_彩票
//
//  Created by 杞文明 on 17/7/25.
//  Copyright © 2017年 杞文明. All rights reserved.
//
#import "QWMTabBarButton.h"

@implementation QWMTabBarButton

-(void)setHighlighted:(BOOL)highlighted{}

@end
2.2 QWMTabBar.h
//
//  QWMTabBar.h
//  03_UIView79_彩票
//
//  Created by 杞文明 on 17/7/24.
//  Copyright © 2017年 杞文明. All rights reserved.
//

#import <UIKit/UIKit.h>
@class QWMTabBar;

@protocol QWMTabBarDelegate <NSObject>

-(void)tabBar:(QWMTabBar *)tabBar index:(NSInteger)index;

@end

@interface QWMTabBar : UIView

/** 模型数组 */
@property (nonatomic, strong) NSArray *items;

@property (nonatomic,weak)id<QWMTabBarDelegate> delegate;

@end
2.3 QWMTabBar.m
//
//  QWMTabBar.m
//  03_UIView79_彩票
//
//  Created by 杞文明 on 17/7/24.
//  Copyright © 2017年 杞文明. All rights reserved.
//

#import "QWMTabBar.h"
#import "QWMTabBarButton.h"

@interface QWMTabBar()

/** 记录选中的按钮 */
@property (nonatomic, weak) UIButton *selButton;

@end

@implementation QWMTabBar

-(void)setItems:(NSArray *)items{
    _items = items;
    for (int i=0; i<items.count; i++) {
        //为了去除点击时候产生的高亮状态,我们自定义button
        UIButton *button = [[QWMTabBarButton alloc]init];
        [self addSubview:button];
        UITabBarItem *item = items[i];
        [button setBackgroundImage:item.image forState:UIControlStateNormal];
        [button setBackgroundImage:item.selectedImage forState:UIControlStateSelected];
        [button addTarget:self action:@selector(buttonOnClick:) forControlEvents:UIControlEventTouchDown];
    }
}

// 当按钮点击的时候调用
- (void)buttonOnClick:(UIButton *)button{
    //如果现在选中的就是上一次的,那么不处理
    if (_selButton==button) {
        return;
    }
    //1.取消上次的选中
    _selButton.selected = NO;

    //2.记录当前选中的按钮
    _selButton = button;

    //3.选中当期点击的按钮
    _selButton.selected = YES;

    //4.通知外界切换自控制器
    if([self.delegate respondsToSelector:@selector(tabBar:index:)]){
        [self.delegate tabBar:self index:button.tag];
    }
}

-(void)layoutSubviews{
    if(_items.count<=0)
        return;
     [super layoutSubviews];
    CGFloat buttonX = 0;
    CGFloat buttonY = 0;
    CGFloat buttonW = self.bounds.size.width / _items.count;
    CGFloat buttonH = self.bounds.size.height;

    int i = 0;
    for (UIButton *button in self.subviews) {
        button.tag = i;
        buttonX = buttonW * i;
        button.frame = CGRectMake(buttonX, buttonY, buttonW, buttonH);
        if (0==i) {
            [self buttonOnClick:button];
        }
        i++;
    }
}

@end
三、图示


