目录
- 一、上次的反馈
- 二、完成首页九宫格
- 1、查看MUI
- 2、到组件中使用
- 3、调整样式(按F12查看有没有现成的样式名)
- 三、完成组件切换动画效果
- 1、分析
- 2、使用transtion元素
- 3、添加动画样式
- 四、完成新闻列表
- 1、新建新闻列表组件
- 2、页面上换成` `
- 3、配置路由
- 4、在新闻组件添加内容
- 5、修改标签和内容
- 6、样式
- 7、效果
- 8、使用axios获取后端数据
- 五、时间过滤器
- 1、安装moment模板插件
- 2、新建filters.js(过滤器)文件
- 3、组件中调用
- 六、抽离配置模块
- 七、新闻列表 到 新闻详情的跳转
- 1、新建 新闻详情 组件
- 2、改造to 为 :to
- 3、配置路由关系
- 4、使用props获取路由传过来的参数
- 5、效果
- 八、评论组件
- 1、新建 comment 子组件
- 2、使用子组件
一、上次的反馈

二、完成首页九宫格
步骤

1、查看MUI
https://dcloud.io/hellomui/examples/grid-default.html

2、到组件中使用

3、调整样式(按F12查看有没有现成的样式名)
1、修改图标

2、查看自己图标的信息

3、找样式名


4、修改

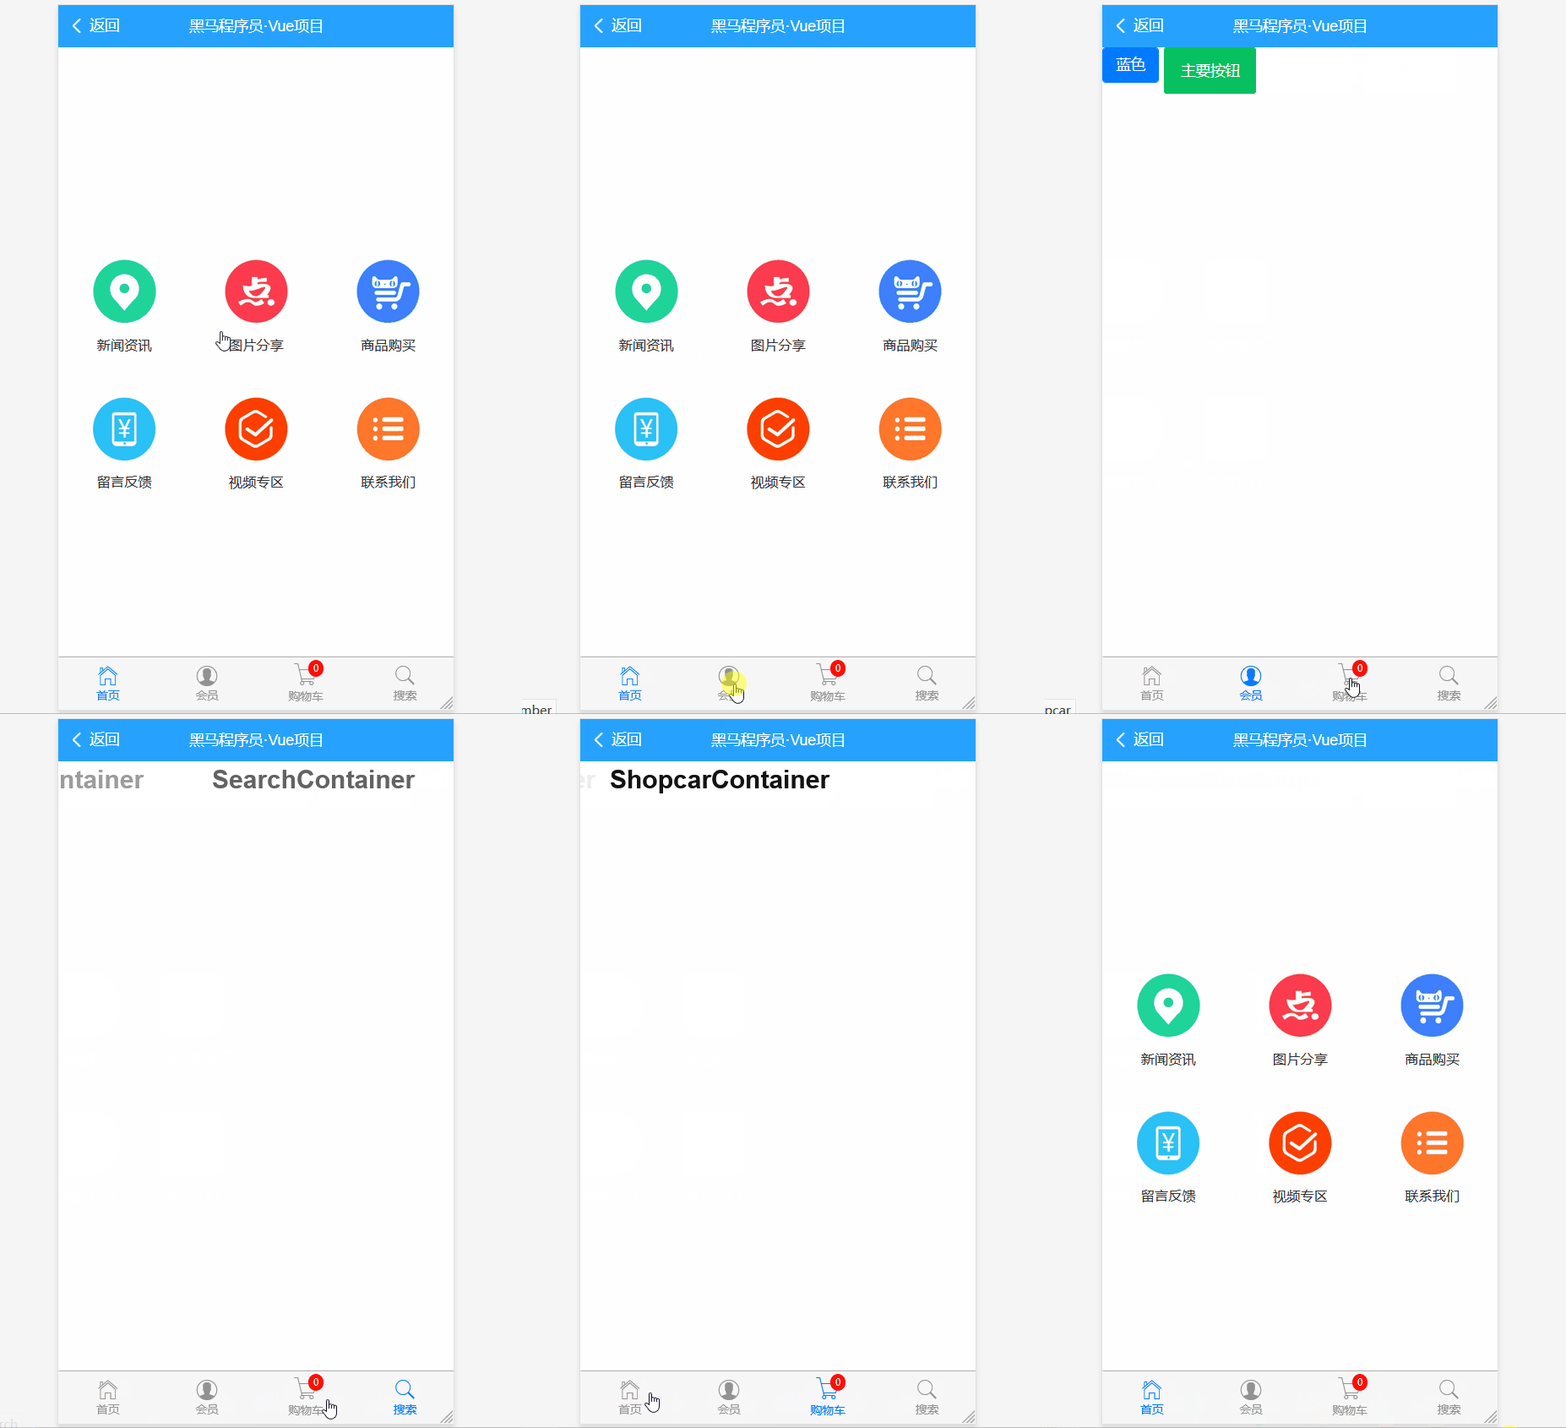
5、效果

三、完成组件切换动画效果
1、分析

2、使用transtion元素

3、添加动画样式

4、效果

四、完成新闻列表
1、新建新闻列表组件
2、页面上换成<router-link>

3、配置路由

4、在新闻组件添加内容
MUI: https://dcloud.io/hellomui/examples/media-list.html 需注意图片的路径

5、修改标签和内容

6、样式


7、效果

8、使用axios获取后端数据


五、时间过滤器

1、安装moment模板插件
npm i moment2、新建filters.js(过滤器)文件

3、组件中调用

六、抽离配置模块
只要与vm实例无关的都可以抽离。

抽离后再引入一下即可

七、新闻列表 到 新闻详情的跳转

1、新建 新闻详情 组件
<template>
  <div class="newsinfo-container">
    <h3 class="title">{{ newsinfo.title }}</h3>
    <p class="info">
      <span>发表时间:{{ newsinfo.add_time | dateFormat }}</span>
      <span>点击:{{ newsinfo.click }}次</span>
    </p>
    <hr>
    <!-- 新闻内容 -->
    <!-- 由于后端传来的数据有html元素,所以这里用v-html来渲染 -->
    <div class="content" v-html="newsinfo.content"></div>


    <!-- 这里评论组件的位置 -->
    <!-- 父组件向子组件传值,通过 属性绑定的形式 -->
    <comment :newsid="id"></comment>

  </div>
</template>

<script>
// 导入 Comment.vue 子组件
import comment from "../sub-components/Comment.vue";

export default {
  data() {
    return {
      newsinfo: {} // 新闻详情
    };
  },
  methods: {
    async getNewsInfo() {
      // 根据Id获取新闻的详情
      const { data } = await this.$http.get("/api/getnew/" + this.id);
      if (data.status === 0) return (this.newsinfo = data.message[0]);
    }
  },
  created() {
    // console.log(this);
    this.getNewsInfo();
  },
  props: ["id"],
  components: {
    // 为当前的 NewsInfo.vue 组件注册私有的子组件
    comment
  }
};
</script>

<style lang="scss" scoped>
.newsinfo-container {
  padding: 3px;
  .title {
    font-size: 15px;
    text-align: center;
    color: red;
    margin: 15px 0;
  }

  .info {
    color: #26a2ff;
    display: flex;
    justify-content: space-between;
  }
}
</style>
2、改造to 为 :to

3、配置路由关系

4、使用props获取路由传过来的参数

5、效果

八、评论组件


1、新建 comment 子组件
<template>
  <div>

    <h4>发表评论 --- {{ newsid }}</h4>
    <hr>
    <textarea placeholder="请输入要BB的内容(最多吐槽120字)" maxlength="120" v-model="msg"></textarea>
    <mt-button type="primary" size="large" @click="postMsg">发表评论</mt-button>


  <!-- 评论列表区域 -->
  <div class="cmt-list">
    <div class="cmt-item" v-for="(item, i) in cmtlist" :key="i">
      <div class="cmt-item-title">第{{ i+1 }}楼 用户:{{ item.user_name }} 发表时间:{{ item.add_time | dateFormat }}</div>
      <div class="cmt-item-body">{{ item.content }}</div>
    </div>
  </div>


    <mt-button type="danger" size="large" plain @click="loadMore">加载更多</mt-button>

  </div>
</template>

<script>
// 按需从 MintUI 中,导出需要的 弹框组件
import { Toast } from "mint-ui";

export default {
  data() {
    return {
      page: 1, // 默认展示第一页的评论
      cmtlist: [], // 评论数组
      msg: "" // 即将发表的评论内容
    };
  },
  created() {
    this.getCommentByPage();
  },
  methods: {
    async getCommentByPage() {
      // 根据页数来获取评论的数据
      const { data } = await this.$http.get(
        "/api/getcomments/" + this.newsid + "?pageindex=" + this.page
      );
      if (data.status === 0)
        return (this.cmtlist = this.cmtlist.concat(data.message));
    },
    loadMore() {
      // 点击按钮,加载更多的评论
      // 当触发这个加载更多方法的时候,应该让 page 页码 + 1 之后,再调用 getCommentByPage 方法
      this.page++;
      this.getCommentByPage();
    },

    async postMsg() {
      // 点击发表评论:
      // 如果用户没有填写评论内容,则阻止其发表评论
      if (this.msg.trim().length <= 0) return Toast("请填写评论内容!");
      // 发表评论的逻辑:
      const { data } = await this.$http.post(
        "/api/postcomment/" + this.newsid,
        {
          content: this.msg.trim()
        }
      );
      if (data.status === 0) {
        // 为了防止重新调用 getCommentByPage 方式时候,会把 之前的所有评论清空的问题:
        // 我们 在客户端,手动拼接出一个 评论的对象,并把 这个评论对象, unshift 到 cmtlist 中
        this.cmtlist.unshift({
          user_name: "匿名用户",
          add_time: new Date(),
          content: this.msg.trim()
        });
        this.msg = "";
      }
    }
  },
  props: ["newsid"] // 接收父组件传递过来的新闻Id
};
</script>

<style lang="scss" scoped>
textarea {
  font-size: 14px;
  margin: 0;
}
.cmt-list {
  margin-top: 4px;
  .cmt-item {
    line-height: 30px;
    .cmt-item-title {
      font-size: 14px;
      background-color: #ddd;
    }
    .cmt-item-body {
      font-size: 13px;
      text-indent: 2em;
    }
  }
}
</style>
2、使用子组件
在任意一个组件中都可以引入这个评论组件


