1.AlphaAnimation(透明度动画)
2.ScaleAnimation(缩放动画)
3.TransalteAnimation(平移动画)
4.RotateAnimation(旋转动画)
先看下Animation的常用属性
1 Animation anim = new AlphaAnimation(1,0.1f);
 2 //设置动画执行的时长(1秒)
 3 anim.setDuraion(1000);
 4 //动画执行结束后停留效果(1)
 5 anim.setFillAfter(true);
 6 anim.setFillBefore(true);
 7 //重复播放动画(2)
 8 anim.setRepeatCount(1);
 9 //反转播放动画(3)
10 anim.setRepeatMode(2);
11 //设置动画速度,默认为均速(4)
12 anim.setInterpolator(new LinearInterolator());
13 //设置动画的启动时间(2秒)
14 anim.setStartOffset(2000);
(1)动画执行结束后停留效果:
动画执行结束后setFillAfter停留在动画的最后一帧,而setFillBefore停留在动画的第一帧,打个比方,点击图标从A点移动到B点,setFillAfter会把图片留在B点(图标虽然显示在B点,但该控件的位置依然在A点,这时候点击图标没什么效果,点击A点动画会再次执行),而setFillBefore会把图标停留在原点(执行后看着好像没什么效果)。
(2)重复播放动画:
setRepeatCount用int型的值,如果填入的值为负数,动画会无限次重复播放。值为0或者整数,重复播放的次数在原来的值上加1,就比如值为0,它会执行1次,值为2,它会执行3次。
(3)反转播放动画:
解释一下反转播放动画,比如平移效果,点击图标,图标会从A点移动到B点,然后它就会从B点移动回A点。setRepeatMode需要和setRepeatCount配合使用,不然不会有效果。setRepeatMode也是用int型的值,研究了一下,它的值为2,和setRepeatCount配合,setRepeatCount的值为-1和1,发现其他的没有效果。setRepeatCount的值为1,整个流程效果(从有到无,然后从无到有)实现一次,值为-1整个流程会无限循环播放。
(4)设置动画速度:
setInterpolator的效果目前有9种,分别为:
LinearInterpolator()
AccelerateInterolator()
DecelerateInterolator()
AccelerateDecelerateInterolator()
AnticipateInterolator()
OvershootInterolator()
AnticipateOvershootInterolator()
BounceInterolator()
CycleInterolator(1)
透明度动画:
有一批人称“AlphaAnimation”为透明度动画,又有另一批称渐变动画,管它是透明还是渐变,怎么顺口怎么来。该动画的透明度取值0.0到1.0,0表示完成透明,1表示原有的透明不变,下面用两个方法实现透明度动画效果,首先使用xml实现。
在res文件中新建anim文件夹,然后在anim中新建alpha.xml,文件路径:res/anim/alpha.xml:
<?xml version="1.0" encoding="utf-8"?>
<alpha xmlns:android="http://schemas.android.com/apk/res/android"
    android:duration = "1000"
    android:fromAlpha = "1"
    android:toAlpha = "0.1"
    android:fillAfter = "true"/>
引用的方法:
//alphaSwitchImg绑定好的图片控件
private void setAnimXML() {
      Animation anim = AnimationUtils.loadAnimation(this, R.anim.alpha);
      alphaSwitchImg.startAnimation(anim);
 }
以上用xml实现,下面直接在代码中实现,想看效果,博客尾部有附加APK和代码链接。
private void setAnimJava(){
     Animation anim = new AlphaAnimation(0.1f,1);
     anim.setDuration(1000);
     anim.setFillAfter(true);
     alphaSwitchImg.startAnimation(anim);
}
透明度动画效果:

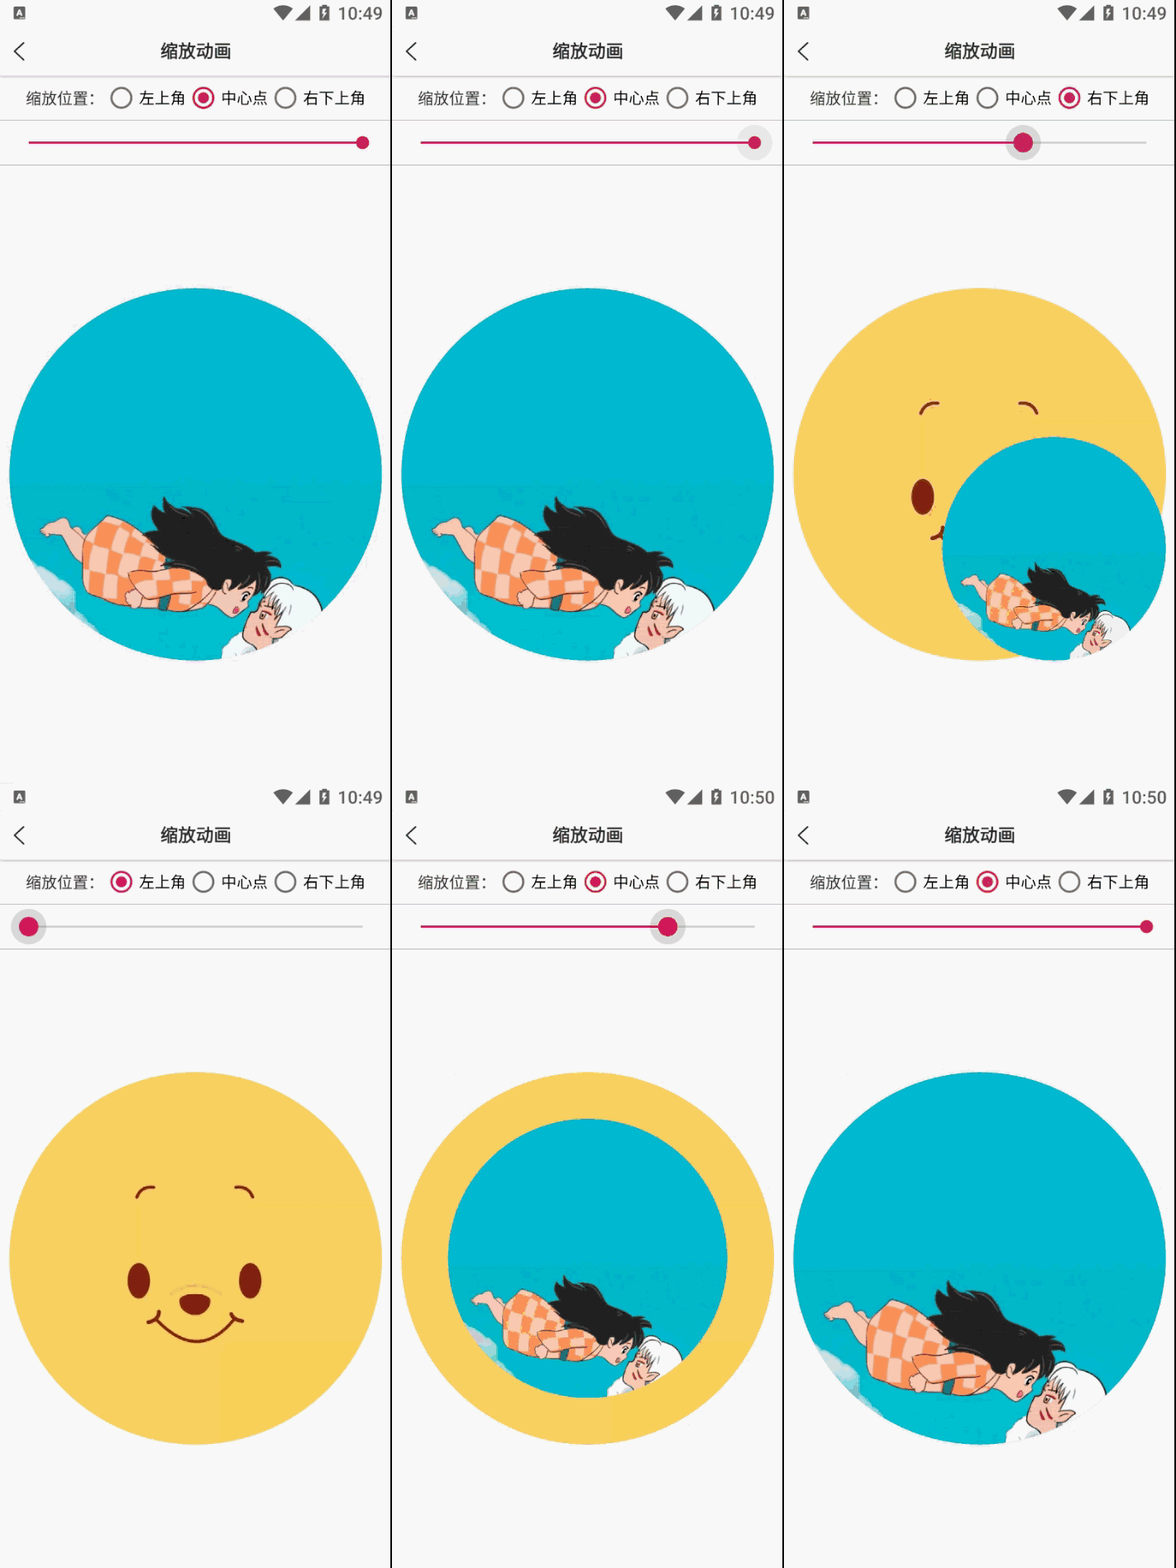
缩放动画:
ScaleAnimation效果可直接收缩,也可以设置缩放位置:X、Y、中心点,参数:
fromX
toX : //动画结束时,X坐标上的伸缩尺寸1.0表示正常无伸缩
fromY : //动画起初时,Y坐标上的伸缩尺寸值小于1.0表示收缩
toY : //动画起初时,Y坐标上的伸缩尺寸值大于1.0表示扩大
pivotXType
pivotXValue: //动画相对于物件的X坐标开始位置
pivotXType
pivotYValue: //动画相对于物件的Y坐标开始位置
直接收缩代码:
Animation anin = new  ScaleAnimation(0,1,0,1);
anim.setDuration(1000);
img.startAnimation(anim);
可调动缩放位置,pivotXValue和pivotYValue值:0左上角位置、0.5f中间位置、1右下角位置
Animation anim = new ScaleAnimation(0, 1, 0, 1, Animation.RELATIVE_TO_SELF, 0.5f, Animation.RELATIVE_TO_SELF, 0.5f);
anim.setDuration(1000);
anim.setFillAfter(true);
img..startAnimation(anim);
使用布局文件实现收缩效果,路径:src/anim/scale.xml:
<?xml version="1.0" encoding="utf-8"?>
<set xmlns:android="http://schemas.android.com/apk/res/android">
    <scale
        android:duration = "1000"
        android:fillAfter = "true"
        android:fromXScale="0"
        android:fromYScale="0"
        android:pivotX="0.5"
        android:pivotY="0.5"
        android:toXScale="1"
        android:toYScale="1"/>
</set>
使用方法:
Animation anim = AnimationUtils.loadAnimation(this,R.anim.scale);
img.startAnimation(anim);
缩放动画效果:

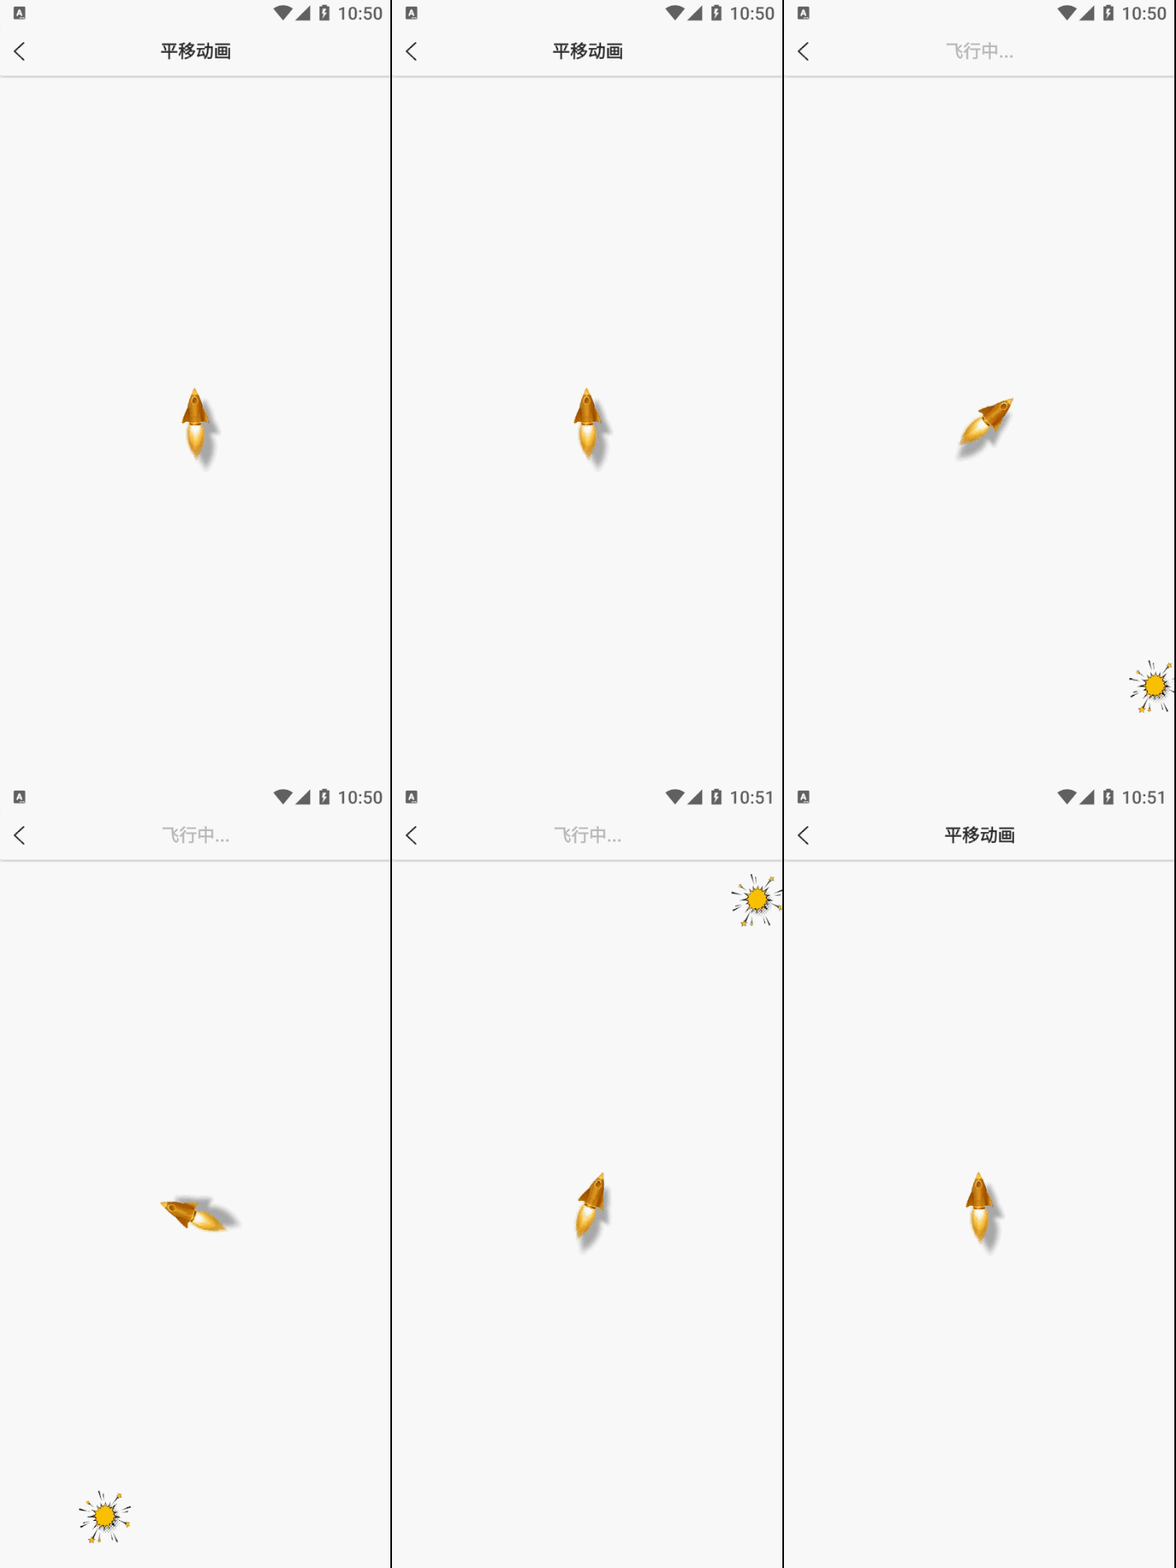
平移动画:
TransalteAnimation平移效果,可上下左右全方位移动,参数1(通过分辨率的宽高例如:1080 * 2160):
fromXDelta: //动画未开始执行原点X坐标值
toXDelta: //动画执行结束终点X坐标值
fromYDelta: //动画未开始执行原点Y坐标值
toYDelta: //动画执行结束终点Y坐标值
实现代码(设置终点X值为1080):
Animation anim = new TranslateAnimation(0,1080,0,0);
anim.setDuration(1000);
anim.setFillAfter(true);
img.startAnimation(anim);
参数2(移动的值是0 - 1,就比如0.5f移动到屏幕中间):
fromXValue: //动画未开始执行原点X坐标值
toXValue: //动画执行结束终点X坐标值
fromYValue: //动画未开始执行原点Y坐标值
toXValue: //动画执行结束终点Y坐标值
实现代码(设置终点X值为1):
Animation anim = new TranslateAnimation(
                Animation.RELATIVE_TO_PARENT, 0,
                Animation.RELATIVE_TO_PARENT, 1,
                Animation.RELATIVE_TO_PARENT, 0,
                Animation.RELATIVE_TO_PARENT, 0);
anim.setDuration(1000);
anim.setFillAfter(true);
img.startAnimation(anim);
布局文件实现平,路径:src/anim/transalte.xml:
<?xml version="1.0" encoding="utf-8"?>
<set xmlns:android="http://schemas.android.com/apk/res/android">
    <translate
        android:duration = "1000"
        android:fromXDelta="0"
        android:fromYDelta="0"
        android:toXDelta="400"
        android:toYDelta="0"
        android:fillAfter="true"/>
</set>
使用方法:
Animation anim = AnimationUtils.loadAnimation(this,R.anim.transalte);
img.startAnimation(anim);
平移动画效果:

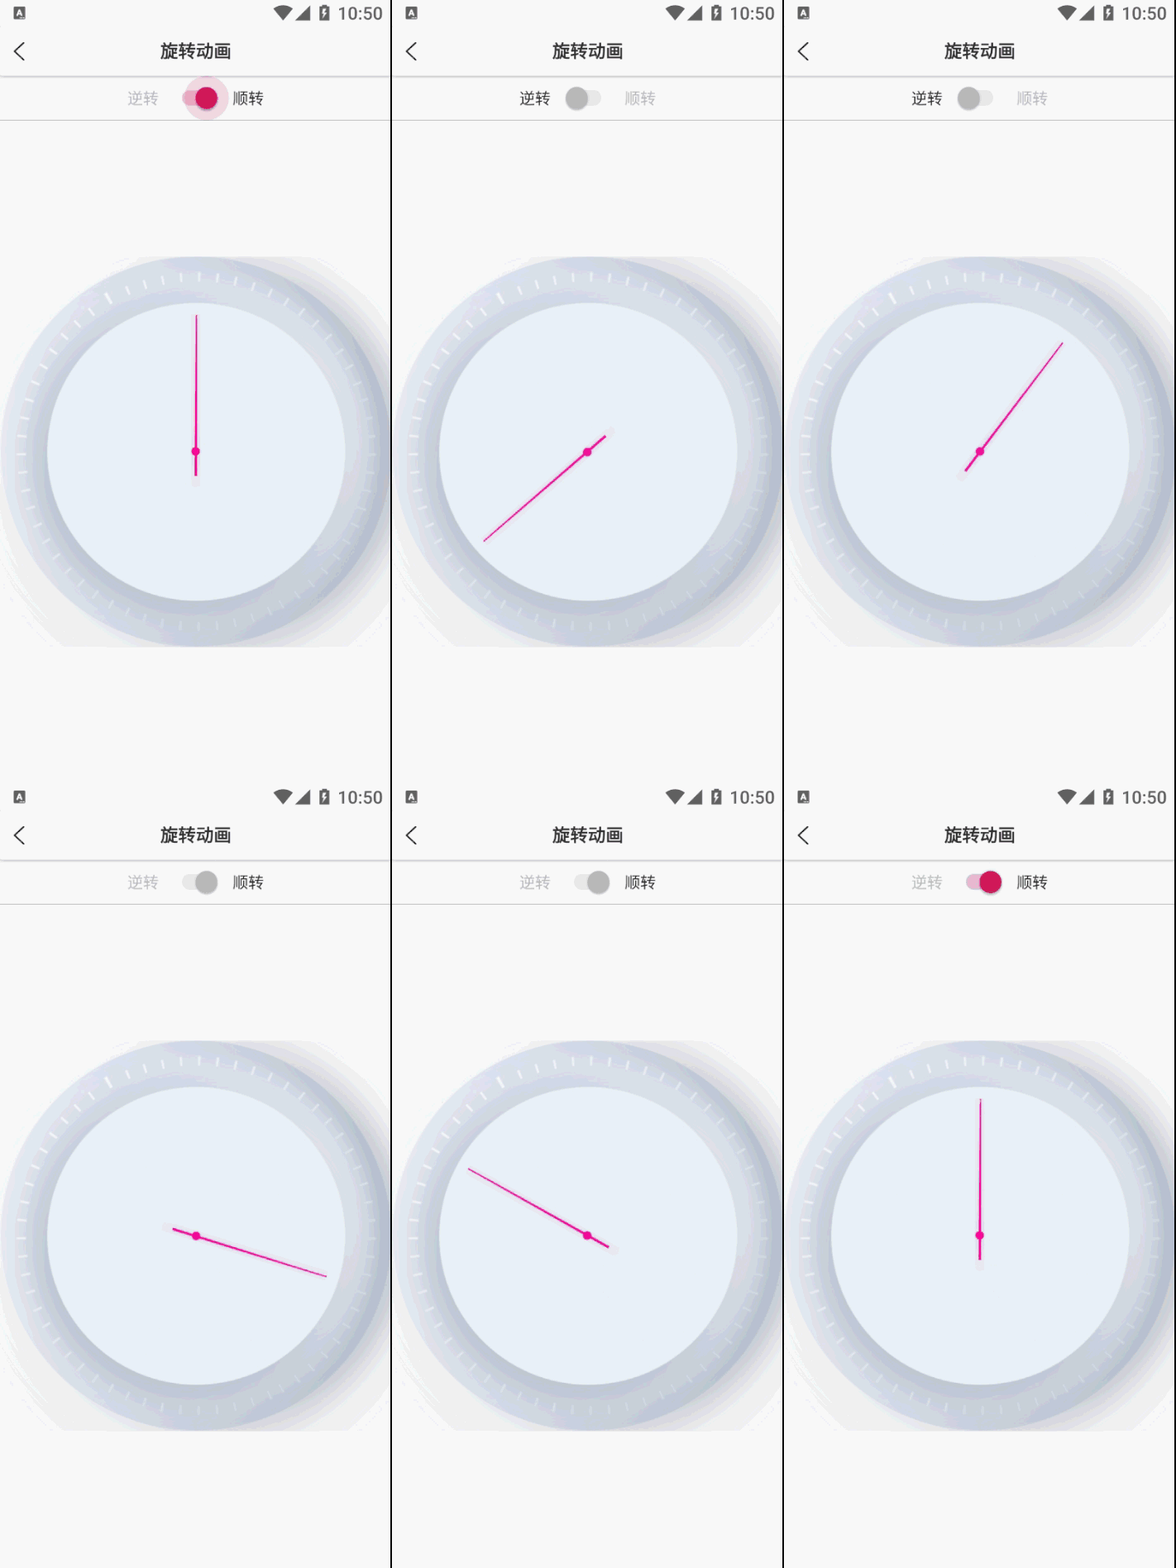
旋转动画:
RotateAnimation旋转效果,旋转的位置:X、Y、中心点,旋转的方向:逆转、顺转,(fromDegrees - toDegress的值是负数时方向为顺转,正数时为逆转),参数:
fromDegress: //动画起初时的旋转角度
toDegress
pivotXType
pivotXValue: //动画相对于物件的X坐标开始位置
pivotYType
pivotYValue: //动画相对于物件的Y坐标开始位置
实现代码,效果:图片中心点旋转,均速的速度用3秒顺时针旋转一圈:
Animation anim = new RotateAnimation(0,360,Animation.RELATIVE_TO_SELF,0.5f,Animation.RELATIVE_TO_SELF,0.5f);
anim.setDuration(3000);
anim.setInterpolator(new LinearInterpolator());
img.startAnimation(anim);
布局文件实现,路径:res/anim/rotate.xml
<?xml version="1.0" encoding="utf-8"?>
<set xmlns:android="http://schemas.android.com/apk/res/android">
    <rotate
        android:duration="3000"
        android:interpolator = "@android:anim/linear_interpolator"
        android:pivotX="50%"
        android:pivotY="50%"
        android:fromDegrees="0"
        android:toDegrees="360"/>
</set>
使用方法:
Animation anim = AnimationUtils.loadAnimation(this,R.anim.rotate);
img.startAnimation(anim);
旋转动画效果:

使用RecyclerView实现Image动画效果:


