文章目录
- 一、矢量动画介绍
- 1、矢量图
- 2、矢量动画
- 二、实现
- 1、准备
- 2、创建动画资源
- 3、创建animated-vector
- 4、展示
- 三、Group
- 四、注意点
一、矢量动画介绍
1、矢量图
矢量文件中的图形元素称为对象。每个对象都是一个自成一体的实体,它具有颜色、形状、轮廓、大小和屏幕位置等属性。既然每个对象都是一个自成一体的实体,就可以在维持它原有清晰度和弯曲度的同时,多次移动和改变它的属性,而不会影响图例中的其它对象。——《百度百科》
矢量图具有很多优点:
- 文件小,即使是稍微有点复杂的图片,例如:
其SVG大小也不过2.78KB。(图源阿里图库@tmx910305) - 图像放大或缩小不影响图像的分辨率。意思就是管你放大多少倍,你休想看到这个图片的像素点!
- 图像的分辨率不依赖于设备。
- 图像元素对象可编辑。
- 线条顺滑。
2、矢量动画
上面也说到了,因为矢量图是可以编辑其图像元素对象的,所以我们可以通过这个手段来实现动画效果。
二、实现
1、准备
你得先准备素材,你可以去阿里巴巴矢量图库找找,可以下载SVG格式的文件,这里我用的是官方提供的SVG。
有了SVG文件之后,就可以导入到项目中了,具体步骤:
1、右键 res/drawable => New => Vector Asset

2、在Name中填入图片的名字,在Path选择图片路径,点击下一步等操作,就可以使SVG文件导入到项目中,在drawable中生成一个标签为 <vector> 的xml资源文件。

ic_play.xml
<vector xmlns:android="http://schemas.android.com/apk/res/android"
    android:width="200dp"
    android:height="200dp"
    android:viewportWidth="1024"
    android:viewportHeight="1024">

  <!-- 先给这个path标签命名,方便后面可以找到 -->
  <path
  	  android:name="play"
      android:fillColor="#FF000000"
      android:pathData="M300,70 l 0,-70 70,70 0,0   -70,70z"/>
</vector>没有资源的小伙伴,可以直接手动在drawable文件夹中创建vector的资源文件,再把上面的xml代码赋值进去即可
2、创建动画资源
我们可以使用ObjectAnimator或者AnimatorSet,我们先用单独的一个ObjectAnimator来做个简单示范。
1、在animator文件夹中创建一个ObjectAnimator。
anim_vector_to_pause.xml:
<objectAnimator xmlns:android="http://schemas.android.com/apk/res/android"
    android:duration="1000"
    android:valueType="pathType"
    android:propertyName="pathData"
    android:valueFrom="M300,70 l 0,-70 70,70 0,0   -70,70z"
    android:valueTo="M300,70 l 0,-70 70,0  0,140 -70,0 z">

</objectAnimator>- 将valueType 设置为pathType
- 将propertyName 赋值为pathData
- valueFrom 为 ic_play.xml的 <path> 标签的pathData值。
- valueTo 为变化后的值。(这是一个长方形)
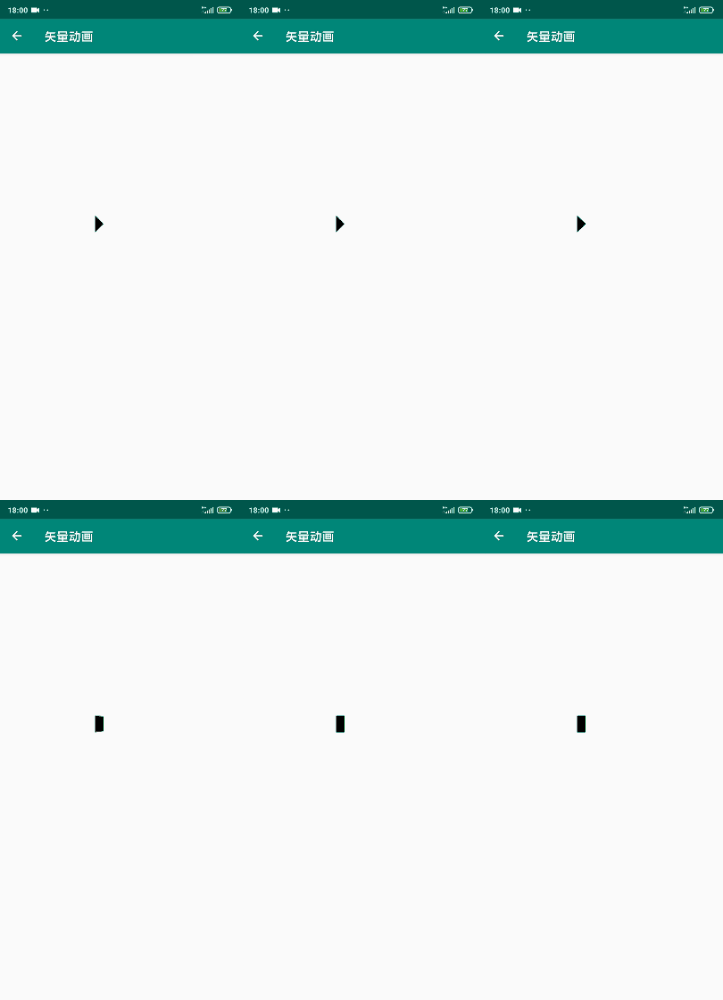
那么这个动画的意思就是,在1000ms内,pathData的值会从 M300,70 l 0,-70 70,70 0,0 -70,70z 变化到 M300,70 l 0,-70 70,0 0,140 -70,0 z
3、创建animated-vector
还是在drawable目录创建一个资源文件,其跟标签为 <animated-vector>,意思是动画效果之后的矢量图。
animated_to_pause.xml:
<animated-vector xmlns:android="http://schemas.android.com/apk/res/android"
    android:drawable="@drawable/ic_play">

    <target
        android:animation="@animator/anim_vector_to_pause"
        android:name="play"/>
</animated-vector>
在其跟标签设置 drawable属性,这个属性是设置未发生动画的时候的图片,然后写一个子标签 <target> 用于设置在哪个 <path> 添加哪个动画。
4、展示
创建一个ImageView:
<ImageView
        android:id="@+id/imageView"
        android:layout_width="wrap_content"
        android:layout_height="wrap_content"
        android:src="@drawable/animated_to_pause"/>
代码:
val vectorDrawable = imageView.drawable as AnimatedVectorDrawable

     imageView.setOnClickListener {
         vectorDrawable.start()
     }
效果:

三、Group
我们可以在vector中创建group标签,用作分组管理,当分组后,你就可以进行整体性的操作,比如旋转、位移等。
将 ic_paly.xml 略改几行代码:
<vector xmlns:android="http://schemas.android.com/apk/res/android"
    android:width="200dp"
    android:height="200dp"
    android:viewportWidth="1024"
    android:viewportHeight="1024">

    <group android:name="group">
        <path
            android:name="play"
            android:fillColor="#FF000000"
            android:pathData="M300,70 l 0,-70 70,70 0,0   -70,70z" />
    </group>
</vector>然后再创建一个旋转动画ObjectAnimator ,
anim_rotate_360.xml :
<objectAnimator xmlns:android="http://schemas.android.com/apk/res/android"
    android:duration="1000"
    android:propertyName="rotation"
    android:valueType="floatType"
    android:valueFrom="0"
    android:valueTo="360">

</objectAnimator>
回到 animated_to_pause.xml 中,再添加一个 <target> 标签,用于给 group添加动画:
<animated-vector xmlns:android="http://schemas.android.com/apk/res/android"
    android:drawable="@drawable/ic_play">

    <target
        android:animation="@animator/anim_vector_to_pause"
        android:name="play"/>

    <target
        android:animation="@animator/anim_rotate_360"
        android:name="group"/>
</animated-vector>
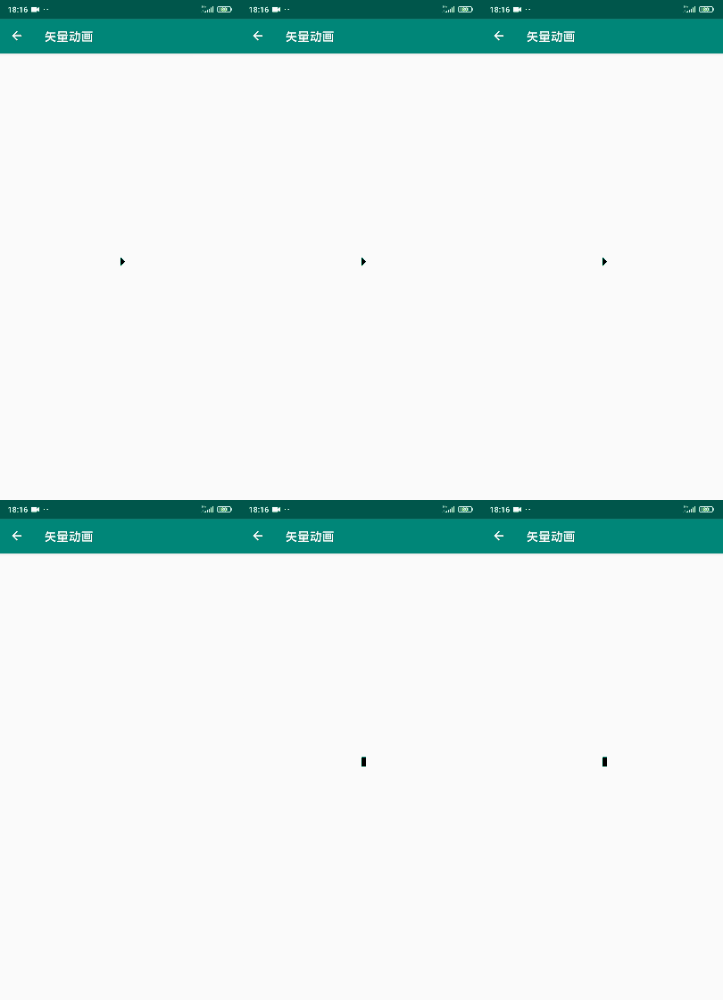
效果如图所示:

Gif图片有点卡,但是实际效果非常的顺滑。(另外这个图片超出去了,这是矢量图的原因。)
四、注意点
我们回到给 三角形变成长方形 的ObjectAnimator 中:
android:valueFrom="M300,70 l 0,-70 70,70 0,0   -70,70z"
android:valueTo="M300,70 l 0,-70 70,0 0,140 -70,0 z"有个特别注意的地方,那就是两个值的路劲格式必须一致,否则就会报错。
所以并不是任何两个<path>都可以互相转换的。


