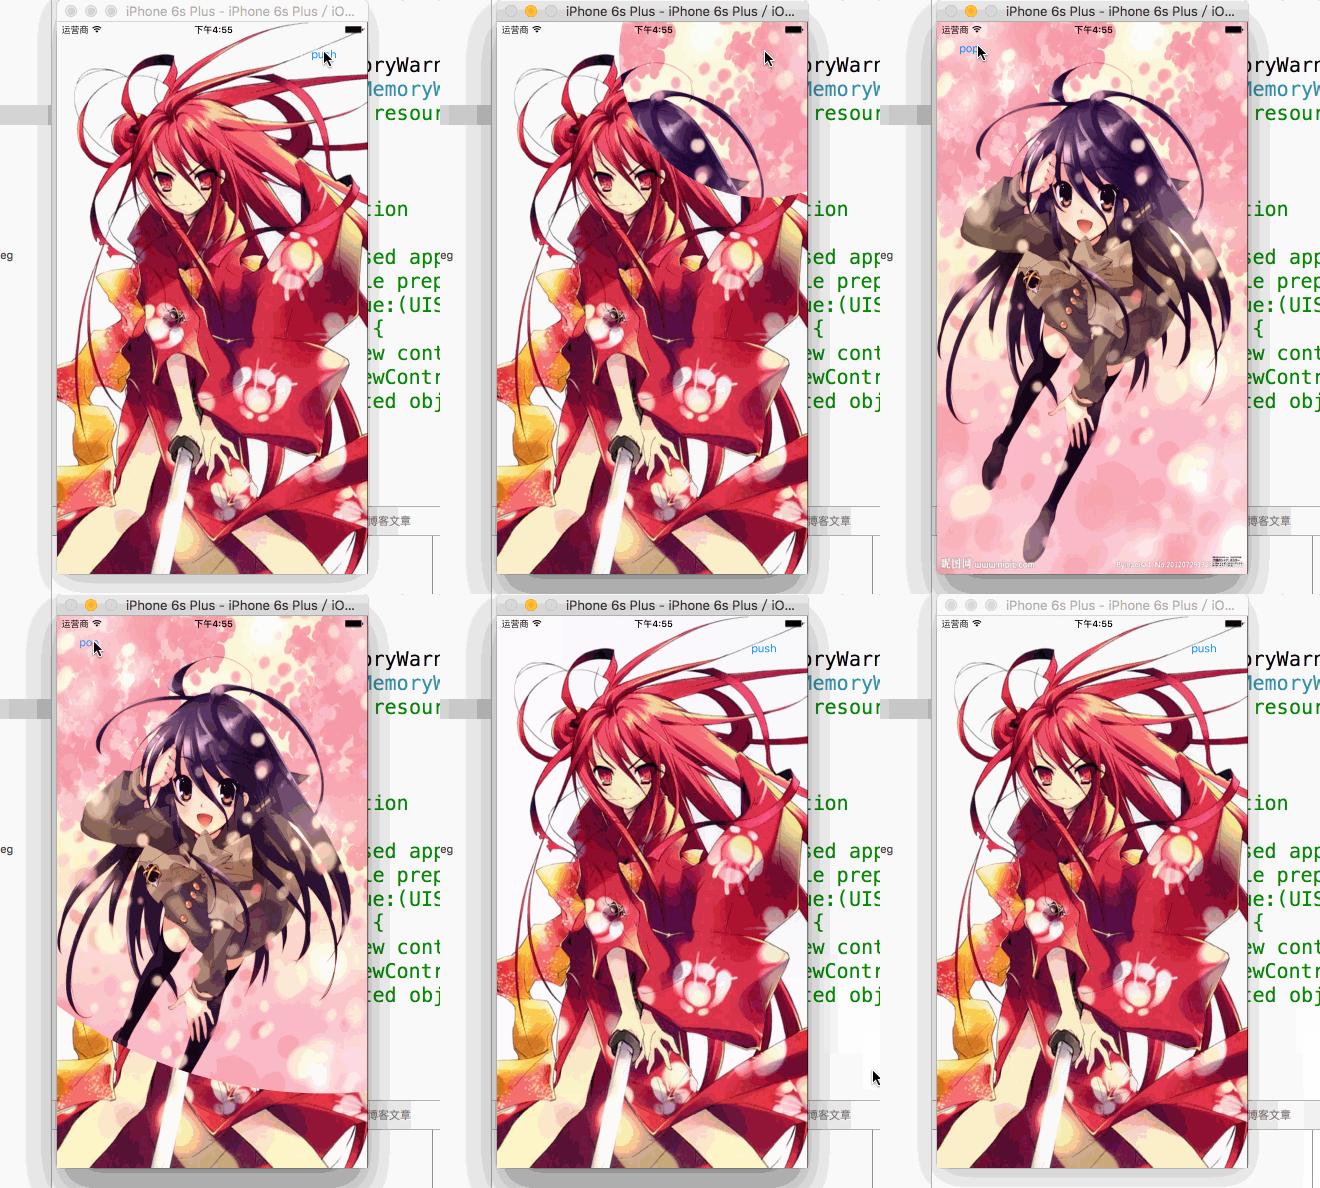
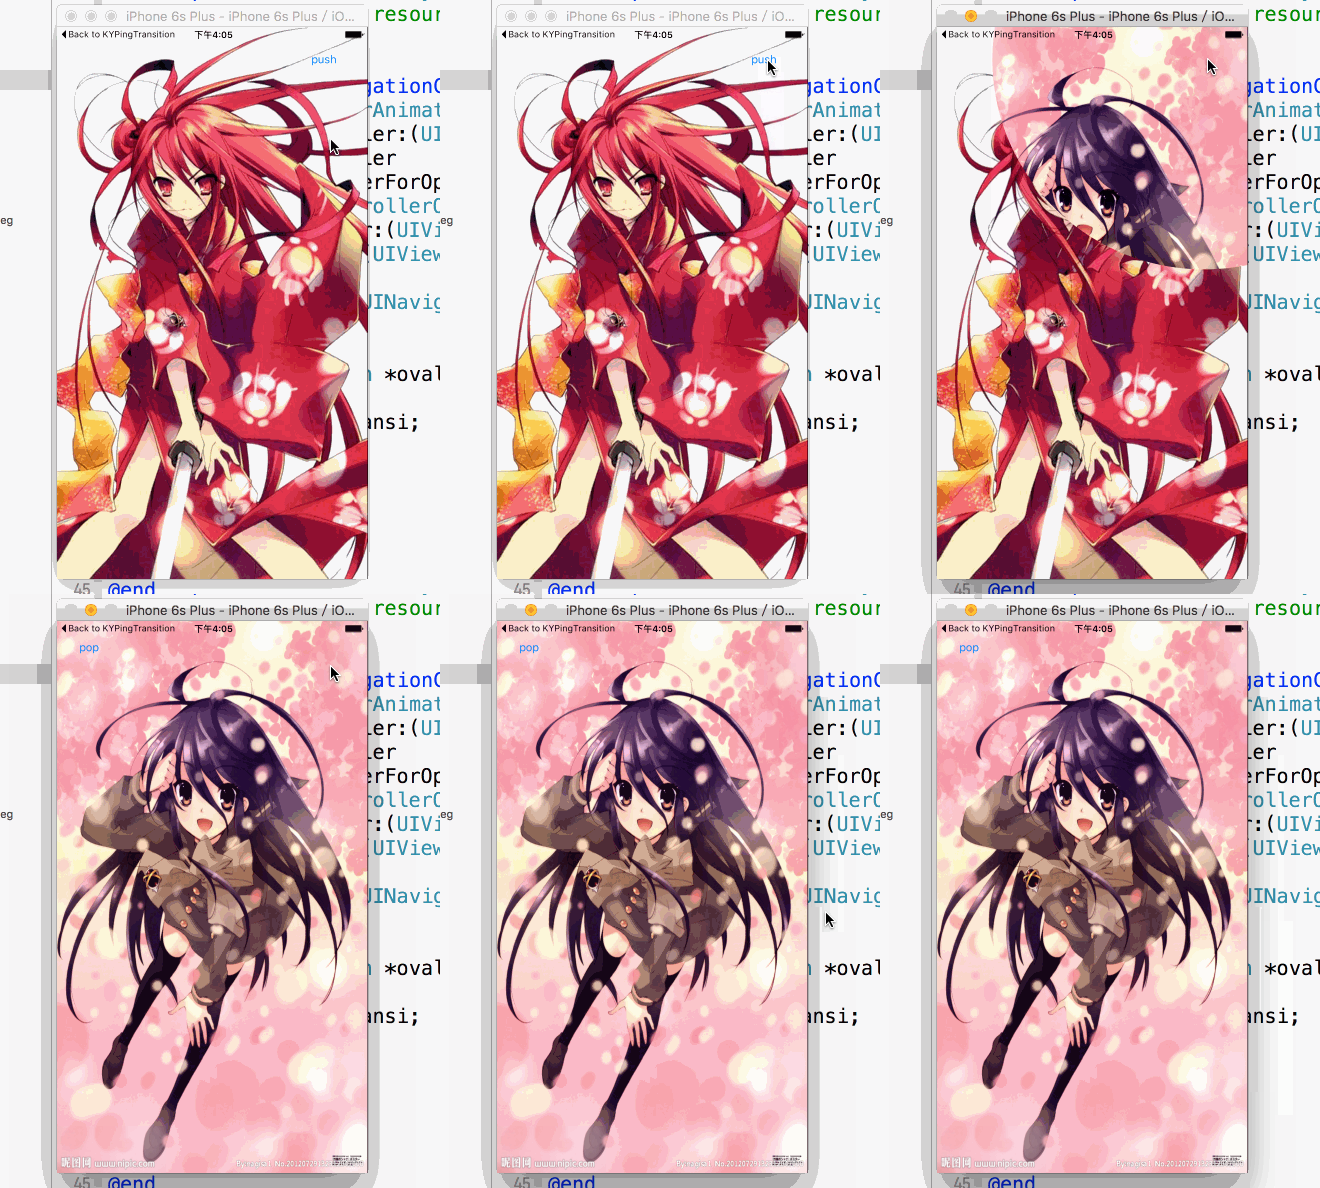
昨天和大家分享了一下xib上的一些细节上的使用技巧,今天和大家分享以下本人第一次做出的比较好看的一个动画,到现在仍觉得这种效果很流行,且好看,是利用layer.mask属性所制作的,废话不多说,先效果图.

又看见咱们可爱的夏娜酱~,这是简单的遮罩转场动画,iOS7开始,苹果就已经推出了自定义转场的的API,可以使用CoreAnimation实现转场动画,更加可以出现在两个VC之间任意切换,真正实现了高度解耦,真的是想怎么来就怎么来,只要你能够有创意就行了.下面为大家介绍一下这个简单`的转场动画是怎么做的.
1.首先在storyBoard上的布局是这样的

放大后可以看到push按钮和pop按钮,使navigationller.navigationBar透明
2.接着为红色夏娜的`VC绑定ViewController,第二个黑发夏娜VC绑定一个SecondViewController;
3.为两个VC签订协议<
UINavigationControllerDelegate
>
实例如下:
@interfaceUIViewController<UINavigationControllerDelegate>
@propertyweak, nonatomic) IBOutletUIButton *button;
@end
@interfaceUIViewController<UINavigationControllerDelegate>
@propertyweak, nonatomic) IBOutletUIButton *button;
@end
我们来先讲push效果是如何做的
4.重写ViewController的ViewWillAppear的方法,制定navigationController的代理人是自己
- (void)viewWillAppear:(BOOL)animated
{
self.navigationController.delegateself;
}
5.实现代理方法
#pragma mark --UINavigationControllerDelegate
- (id<UIViewControllerAnimatedTransitioning>)navigationController:(UINavigationControllerUINavigationControllerOperation)operation fromViewController:(UIViewControllerUIViewController *)toVC
{
ifUINavigationControllerOperationPush) {
OvalTransitionOvalTransitionnew];
return ovalTransi;
else{
returnnil;
}
}
这个代理方法需要返回一个签了UIViewControllerAnimatedTransitioning协议的对象,而我返回的是自定义的OvralTransition对象
我们来看这一个对象的.h文件下的代码
#import <Foundation/Foundation.h>
#import <UIKit/UIKit.h>
@interfaceNSObject<UIViewControllerAnimatedTransitioning>
@end
6.现在为这一个类签订UIViewControllerAnimatedTransitioning协议.
7.该类的实现如下
// Created by 叶杨 on 16/3/15.
// Copyright © 2016年叶景天. All rights reserved.
//
#import "OvalTransition.h"
#import "ViewController.h"
#import "SecondViewController.h"
@interfaceOvalTransition ()
//在类的延展里头添加一个签了转场动画代理方法的上下文对象,方便之后的传值
@propertynonatomic, strong)id<UIViewControllerContextTransitioning>transitionContext;
@end
@implementation OvalTransition
- (NSTimeInterval)transitionDuration:(id<UIViewControllerContextTransitioning>)transitionContext
{
return 0.7;
}
- (void)animateTransition:(id<UIViewControllerContextTransitioning>)transitionContext
{
//赋值给属性,动画结束时方便传值
self.transitionContext = transitionContext;
//获取前一个VC
ViewControllerViewControllerviewControllerForKey:UITransitionContextFromViewControllerKey];
//获取后一个VC
SecondViewControllerSecondViewControllerviewControllerForKey:UITransitionContextToViewControllerKey];
//获取转场时生成的转场视图view
UIViewcontainerView];
UIButtonbutton;
UIBezierPathUIBezierPathbezierPathWithOvalInRect:button.frame];
addSubview:fromVC.view];
addSubview:toVC.view];
//创建两个圆形的UIBezierPath实例: 一个是button的size,另外一个则拥有足够覆盖屏幕的半径.最终的动画是在这两个圆周路径之中进行的
//这里的finalPoint是相对于fromVC.button.center的位置,并不是在屏幕上的位置
CGPoint finalPoint;
//判断触发在哪一个象限,当然我们这里很明显是在第一象限,但是这里为了代码的可复用性,我们也必须判断再计算
ifframe.origin.xview.bounds.size.width / 2)) {
ifframe.origin.yview.bounds.size.width / 2)) {
//第一象限
CGPointMake(button.center.xcenter.yCGRectGetMaxY(toVC.view.bounds) + 30);
else{ //第四象限
CGPointMake(button.center.xcenter.y - 0);
}
else{
ifframe.origin.yview.bounds.size.height / 2)) {
//第二象限
CGPointMake(button.center.xCGRectGetMaxX(toVC.view.bounds), button.center.yCGRectGetMaxY(toVC.view.bounds)+30);
else{
//第三象限
CGPointMake(button.center.xCGRectGetMaxX(toVC.view.bounds), button.center.y - 0);
}
}
//CGRectInset是返回一个中心点一样但是宽高不一样的矩形
CGFloatsqrt((finalPoint.xx) + (finalPoint.yy));
UIBezierPathUIBezierPathbezierPathWithOvalInRect:CGRectInset(button.frame, -radius, -radius)];
//创建一个来负责展示圆形遮盖
CAShapeLayerCAShapeLayerlayer];
pathCGPath; //将它的指定为最终的来避免在动画完成后会回弹
//这里说明一下mask的属性,mask的属性很简单,例如:view上加了一层imageView,如果imageView.layer.mask = layerA,那么layerA上不透明的部分将会被绘制成透明,透明的部分将会把imageView.layer绘制成白色
view.layer.mask = maskLayer;
CABasicAnimationCABasicAnimationanimationWithKeyPath:@"path"];
fromValue__bridgeid)(maskStartBP.CGPath);
toValue__bridgeid)((maskFinalBP.CGPath));
durationselftransitionDuration:transitionContext];
timingFunctionCAMediaTimingFunctionfunctionWithName:kCAMediaTimingFunctionEaseInEaseOut];
delegateself;
addAnimation:maskLayerAnimation forKey:@"path"];
}
#pragma mark - CABasicAnimation的Delegate
- (void)animationDidStop:(CAAnimationBOOL)flag{
//告诉这个完成
self.transitionContextcompleteTransition:![self. transitionContexttransitionWasCancelled]];
//清除的这里一定要清除,否则会影响响应者链
self.transitionContextviewControllerForKey:UITransitionContextFromViewControllerKey].view.layer.masknil;
self.transitionContextviewControllerForKey:UITransitionContextToViewControllerKey].view.layer.masknil;
}
@end
//最终push完成的效果就是这样的

这样就完成了一个简单的遮罩push效果,至于pop的话大家可以根据前面的例子自己做,具体Demo在可以在我的gitHub上下载,下载地址https://github.com/bnb173yjx/maskAnimationDemo 因为storyBoard上没有做适配,所以打开的时候以6plus模拟器打开


