
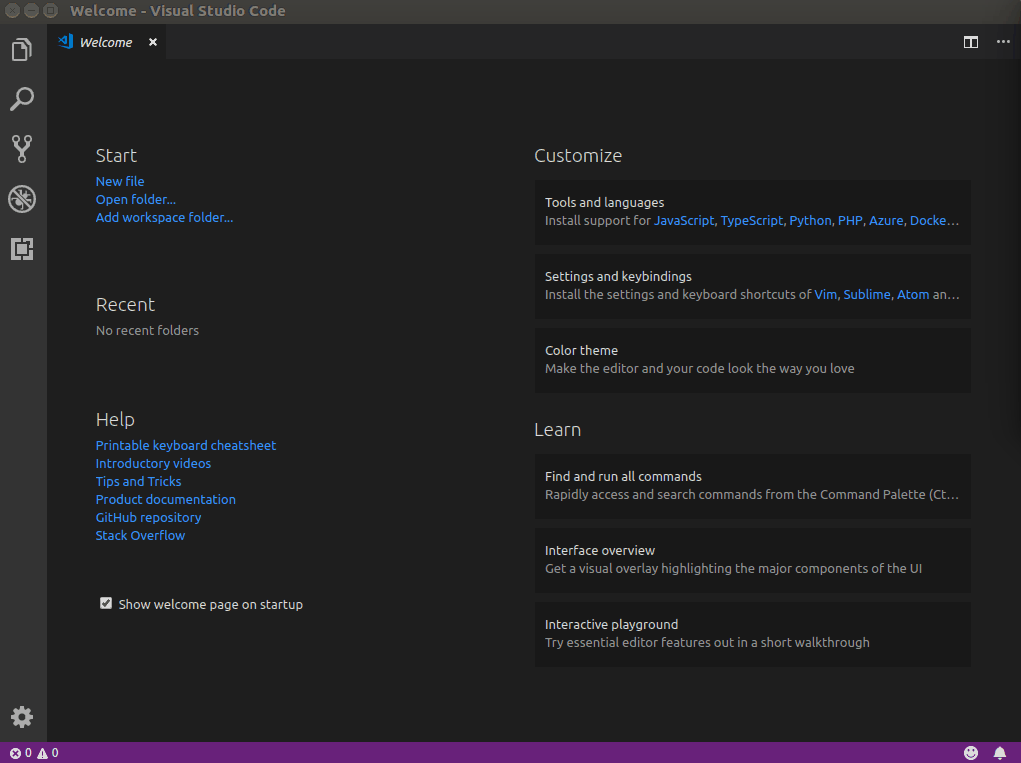
Visual studio code是微软发布的一个运行于 Mac OS X、Windows和 Linux 之上的,针对于编写现代 Web 和云应用的跨平台源代码编辑器。
1. Vscode安装
第一种方式是从VScode官网下载.deb文件,然后双击该文件会打开软件中心进行安装。

第二种方式是通过Terminal进行安装,首先输入下面三条语句安装umake:
1 2 3 |
|
然后通过umake来安装VScode:
1 |
|

2. Vscode环境配置
2.1 安装c/c++插件
首先通过左边栏的Extension栏目安装C++插件,操作如下图:
2.2 建立工程
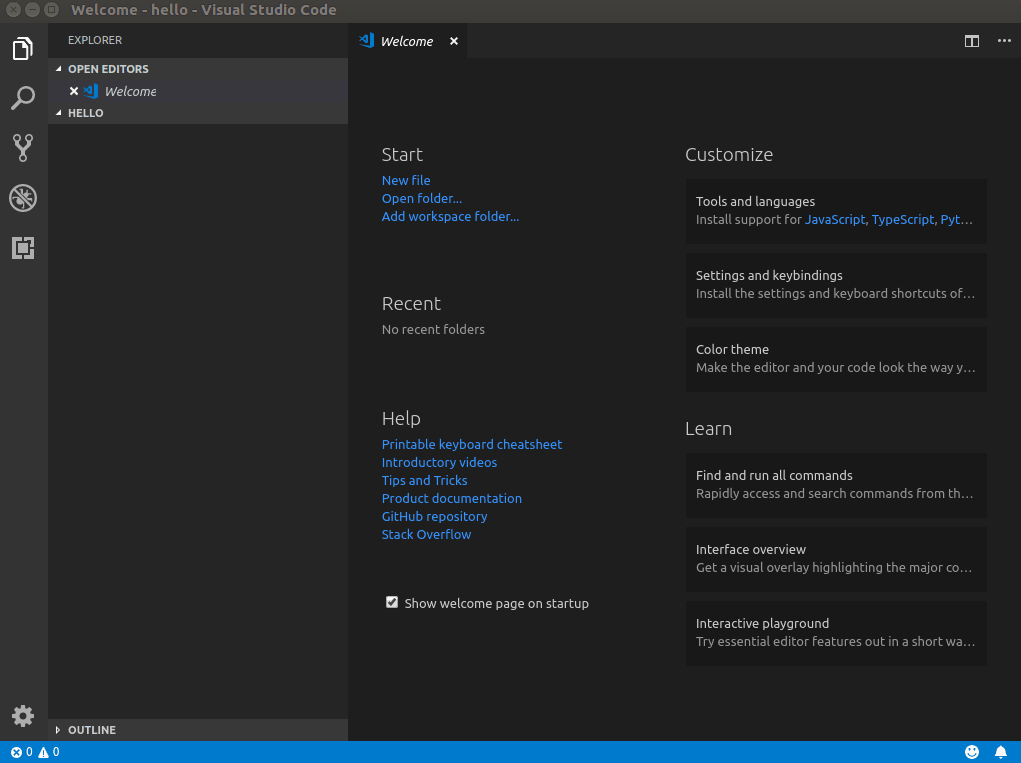
由于VScode是以文件夹的形式管理工程的,因此我们首先新建一个文件夹,我这里取名叫hello。

然后通过VScode打开此文件夹:

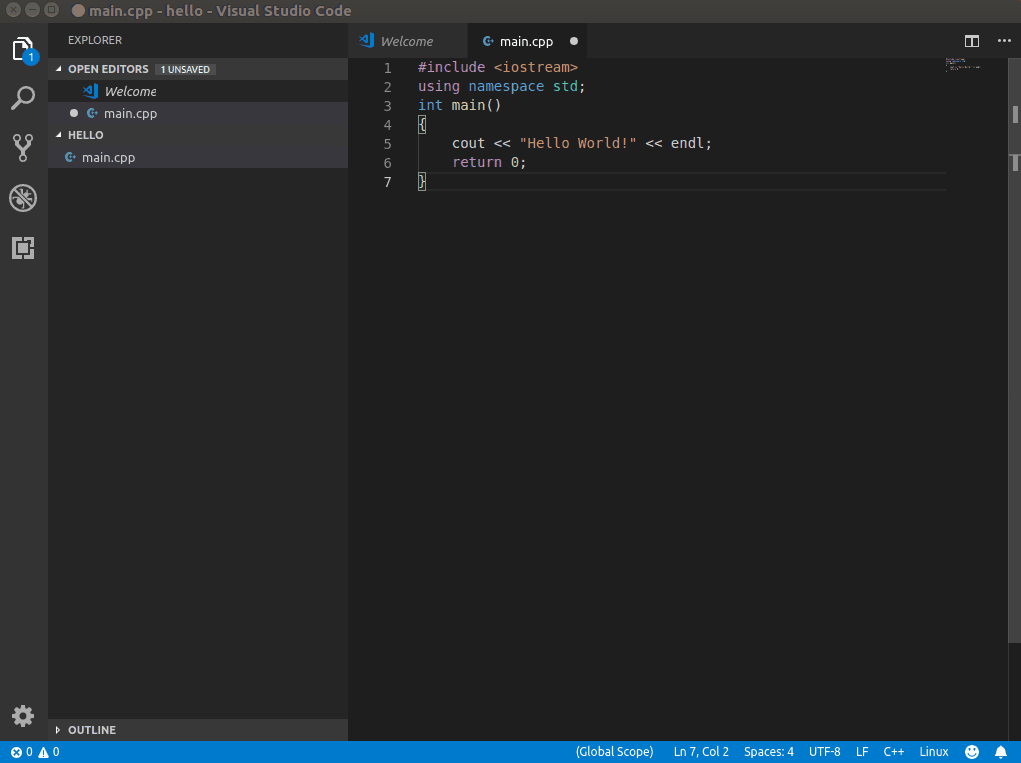
新建main.cpp文件并输入程序:
2.3 更改配置文件(launch.json)
点击左侧的Debug按钮,选择添加配置(Add configuration),然后选择C++(GDB/LLDB),将自动生成launch.json文件,具体操作如下:
将默认launch.json修改成为
1 2 3 4 5 6 7 8 9 10 11 12 13 14 15 16 17 18 19 20 21 22 23 24 25 26 27 28 |
|
2.4 添加构建(编译、链接等)任务(tasks.json)
为了方便在VScode里编译C++代码,我们可以将类似g++ -g main.cpp等g++命令写入VScode的任务系统。首先,利用快捷键ctrl+shift+p打开命令行,输入Tasks: Run task,会出现如下提示:
1 |
|
回车,然后依次选择如下:
1 |
|
1 |
|
生成默认的tasks.json文件如下
1 2 3 4 5 6 7 8 9 10 11 12 |
|
这里的label为任务名,我们将”label"= "echo"改为”label"= "build"。由于我们的指令是g++,这里将”command“=”echo Hello“改为”command“=”g++“。然后添加g++的参数args。如果我们的g++指令为:g++ -g main.cpp,这里可以把参数设置为如下
1 2 3 4 5 6 7 8 9 10 |
|
如果我们想配置g++指令为:g++ -g main.cpp -std=c++11 -o main.out,则参数可设置为:
1 2 3 4 5 6 7 8 9 10 |
|
完整的tasks.json文件如下
1 2 3 4 5 6 7 8 9 10 11 12 13 |
|
2.5 简单断点调试
经过上述配置之后就可以对我们写的程序进行简单的配置。在进行下面的操作前,我们应当保证launch.json和tasks.json的正确性并且已经成功保存.使用快捷键ctrl+shift+p调出命令行,选择执行我们的build任务,build成功后,点击开始调试。具体操作如下

值得注意的是,这里如果每次更改了程序需要重新build,然后再进行调试;如果直接进行调试则运行的是上次build的结果。通过在launc.json作如下更改可以使得每次调试之前会自动进行build:

这里在launch.json文件中添加了”preLaunchTask“=”build",也就是添加一个launch之间的任务,任务名为build,这个build就是我们在tasks.json中设置的任务名。
3.总结及注意事项
本文对Ubuntu16.04系统下配置基于VScode的C/C++开发环境进行了简单的介绍,主要步骤为:
1.安装VScode,可以通过在官网下载和命令行的方式进行安装。(顺便提一下,在命令行安装的过程中可能会让你输入a)
2.新建C/C++工程,VScode以文件夹为管理工程的方式,因此需要建立一个文件夹来保存工程。
3.配置launch.json文件,它是一个启动配置文件。需要进行修改地方的是指定运行的文件,其次我们还可以在里面添加build任务。
4.配置tasks.json文件,这个文件用来方便用户自定义任务,我们可以通过这个文件来添加g++/gcc或者是make命令,方便我们编译程序。
5.上述四个流程完了之后我们就可以进行基础的C/C++开发与调试了。


