思路说完了,上代码
1.首先你需要一个Ldap,我使用的是AD。这里我建立了一个叫minibox.com的域,并且添加了一个Employees的OU,其中有2个子OU,子OU中创建了2个用户。


2.搭建SpringBoot环境
2.1pom文件
<project xmlns="http://maven.apache.org/POM/4.0.0" xmlns:xsi="http://www.w3.org/2001/XMLSchema-instance" xsi:schemaLocation="http://maven.apache.org/POM/4.0.0 http://maven.apache.org/xsd/maven-4.0.0.xsd">
  <modelVersion>4.0.0</modelVersion>
  <groupId>minibox</groupId>
  <artifactId>an</artifactId>
  <version>0.0.1-SNAPSHOT</version>
    <!-- Inherit defaults from Spring Boot -->
    <parent>
        <groupId>org.springframework.boot</groupId>
        <artifactId>spring-boot-starter-parent</artifactId>
        <version>1.5.1.RELEASE</version>
    </parent>
    <!-- Add typical dependencies for a web application -->
    <dependencies>
        <!-- MVC -->
        <dependency>
            <groupId>org.springframework.boot</groupId>
            <artifactId>spring-boot-starter-web</artifactId>
        </dependency>
        <!-- Spring boot test -->
        <dependency>
            <groupId>org.springframework.boot</groupId>
            <artifactId>spring-boot-starter-test</artifactId>
            <scope>test</scope>
        </dependency>
        <!-- spring-boot-starter-hateoas -->
        <dependency>
            <groupId>org.springframework.boot</groupId>
            <artifactId>spring-boot-starter-hateoas</artifactId>
        </dependency>
        <!-- 热启动 -->
        <dependency>
            <groupId>org.springframework.boot</groupId>
            <artifactId>spring-boot-devtools</artifactId>
            <optional>true</optional>
        </dependency>
        <!-- JWT -->
        <dependency>
            <groupId>io.jsonwebtoken</groupId>
            <artifactId>jjwt</artifactId>
            <version>0.7.0</version>
        </dependency>
        <!-- Spring Ldap -->
        <dependency>
            <groupId>org.springframework.ldap</groupId>
            <artifactId>spring-ldap-core</artifactId>
            <version>2.3.1.RELEASE</version>
        </dependency>
        <!-- fastjson -->
        <dependency>
            <groupId>com.alibaba</groupId>
            <artifactId>fastjson</artifactId>
            <version>1.2.24</version>
        </dependency>
    </dependencies>
    <!-- Package as an executable jar -->
    <build>
        <plugins>
            <plugin>
                <groupId>org.springframework.boot</groupId>
                <artifactId>spring-boot-maven-plugin</artifactId>
            </plugin>
            <!-- Hot swapping -->
            <plugin>
                <groupId>org.springframework.boot</groupId>
                <artifactId>spring-boot-maven-plugin</artifactId>
                <dependencies>
                    <dependency>
                        <groupId>org.springframework</groupId>
                        <artifactId>springloaded</artifactId>
                        <version>1.2.0.RELEASE</version>
                    </dependency>
                </dependencies>
            </plugin>
        </plugins>
    </build>
</project>
2.2应用配置文件
#Logging_config
logging.level.root=INFO
logging.level.org.springframework.web=WARN
logging.file=minibox.log

#server_config
#使用了SSL,并且在ldap配置中使用了ldaps,这里同时也需要把AD的证书导入到server.keystore中。具体的可以查看java的keytool工具
server.port=8443
server.ssl.key-store=classpath:server.keystore
server.ssl.key-store-password=minibox
server.ssl.key-password=minibox

#jwt
#jwt加解密时使用的key
jwt.key=minibox

#ldap_config
#ldap配置信息,注意这里的userDn一定要写这种形式。referral设置为follow,说不清用途,似乎只有连接AD时才需要配置
ldap.url=ldaps://192.168.227.128:636
ldap.base=ou=Employees,dc=minibox,dc=com
ldap.userDn=cn=Administrator,cn=Users,dc=minibox,dc=com
ldap.userPwd=qqq111!!!!
ldap.referral=follow
ldap.domainName=@minibox.com3.spring主配置类
package an;

import org.springframework.beans.factory.annotation.Value;
import org.springframework.boot.SpringApplication;
import org.springframework.boot.autoconfigure.SpringBootApplication;
import org.springframework.context.annotation.Bean;
import org.springframework.ldap.core.LdapTemplate;
import org.springframework.ldap.core.support.LdapContextSource;


@SpringBootApplication//相当于@Configuration,@EnableAutoConfiguration,@ComponentScan
public class Application {

    /*
    * SpringLdap配置。通过@Value注解读取之前配置文件中的值
    */
    @Value("${ldap.url}")
    private String ldapUrl;

    @Value("${ldap.base}")
    private String ldapBase;

    @Value("${ldap.userDn}")
    private String ldapUserDn;

    @Value("${ldap.userPwd}")
    private String ldapUserPwd;

    @Value("${ldap.referral}")
    private String ldapReferral;

    /*
    *SpringLdap的javaConfig注入方式
    */
    @Bean
    public LdapTemplate ldapTemplate() {
        return new LdapTemplate(contextSourceTarget());
    }

    @Bean
    public LdapContextSource contextSourceTarget() {
        LdapContextSource ldapContextSource = new LdapContextSource();
        ldapContextSource.setUrl(ldapUrl);
        ldapContextSource.setBase(ldapBase);
        ldapContextSource.setUserDn(ldapUserDn);
        ldapContextSource.setPassword(ldapUserPwd);
        ldapContextSource.setReferral(ldapReferral);
        return ldapContextSource;
    }


    public static void main(String[] args) throws Exception {
        SpringApplication.run(Application.class, args);
    }
}
3.1提供认证服务的类
package an.auth;

import javax.naming.directory.Attributes;
import javax.naming.directory.DirContext;
import org.springframework.beans.factory.annotation.Autowired;
import org.springframework.beans.factory.annotation.Value;
import org.springframework.http.HttpStatus;
import org.springframework.http.ResponseEntity;
import org.springframework.ldap.NamingException;
import org.springframework.ldap.core.AttributesMapper;
import org.springframework.ldap.core.LdapTemplate;
import org.springframework.ldap.support.LdapUtils;
import org.springframework.web.bind.annotation.CrossOrigin;
import org.springframework.web.bind.annotation.RequestMapping;
import org.springframework.web.bind.annotation.RequestMethod;
import org.springframework.web.bind.annotation.RequestParam;
import org.springframework.web.bind.annotation.RestController;
import com.alibaba.fastjson.JSON;
import com.alibaba.fastjson.serializer.SerializerFeature;
import static org.springframework.ldap.query.LdapQueryBuilder.query;
import java.util.Date;
import java.util.HashMap;
import java.util.Map;
import an.entity.Employee;
import io.jsonwebtoken.Jwts;
import io.jsonwebtoken.SignatureAlgorithm;

@RestController
@RequestMapping("/auth")
public class JwtAuth {

    //jwt加密密匙
    @Value("${jwt.key}")
    private String jwtKey;

    //域名后缀
    @Value("${ldap.domainName}")
    private String ldapDomainName;

    //ldap模板
    @Autowired
    private LdapTemplate ldapTemplate;

    /**
     * 将域用户属性通过EmployeeAttributesMapper填充到Employee类中,返回一个填充信息的Employee实例
     */
    private class EmployeeAttributesMapper implements AttributesMapper<Employee> {
        public Employee mapFromAttributes(Attributes attrs) throws NamingException, javax.naming.NamingException {
            Employee employee = new Employee();
            employee.setName((String) attrs.get("sAMAccountName").get());
            employee.setDisplayName((String) attrs.get("displayName").get());
            employee.setRole((String) attrs.get("memberOf").toString());
            return employee;
        }
    }

    /**
     * @param username  用户提交的名称
     * @param password  用户提交的密码
     * @return  成功返回加密后的token信息,失败返回错误HTTP状态码
     */
    @CrossOrigin//因为需要跨域访问,所以要加这个注解
    @RequestMapping(method = RequestMethod.POST)
    public ResponseEntity<String> authByAd(
            @RequestParam(value = "username") String username,
            @RequestParam(value = "password") String password) {
        //这里注意用户名加域名后缀  userDn格式:anwx@minibox.com
        String userDn = username + ldapDomainName;
        //token过期时间 4小时
        Date tokenExpired = new Date(new Date().getTime() + 60*60*4*1000);
        DirContext ctx = null;
        try {
            //使用用户名、密码验证域用户
            ctx = ldapTemplate.getContextSource().getContext(userDn, password);
            //如果验证成功根据sAMAccountName属性查询用户名和用户所属的组
            Employee employee = ldapTemplate                                                        .search(query().where("objectclass").is("person").and("sAMAccountName").is(username),
                            new EmployeeAttributesMapper())
                    .get(0);
            //使用Jwt加密用户名和用户所属组信息
            String compactJws = Jwts.builder()
                    .setSubject(employee.getName())
                    .setAudience(employee.getRole())
                    .setExpiration(tokenExpired)
                    .signWith(SignatureAlgorithm.HS512, jwtKey).compact();
            //登录成功,返回客户端token信息。这里只加密了用户名和用户角色,而displayName和tokenExpired没有加密
            Map<String, Object> userInfo = new HashMap<String, Object>();
            userInfo.put("token", compactJws);
            userInfo.put("displayName", employee.getDisplayName());
            userInfo.put("tokenExpired", tokenExpired.getTime());
            return new ResponseEntity<String>(JSON.toJSONString(userInfo , SerializerFeature.DisableCircularReferenceDetect) , HttpStatus.OK);
        } catch (Exception e) {
            //登录失败,返回失败HTTP状态码
            return new ResponseEntity<String>(HttpStatus.UNAUTHORIZED);
        } finally {
            //关闭ldap连接
            LdapUtils.closeContext(ctx);
        }
    }

}
4.前端Vue
4.1使用Vue-cli搭建项目,并使用vue-router和vue-resource,不了解的可以搜索下
4.2 main.js
// The Vue build version to load with the `import` command
// (runtime-only or standalone) has been set in webpack.base.conf with an alias.
import Vue from 'vue'
import VueRouter from 'vue-router'
import VueResource from 'vue-resource'
import store from './store/store'
import 'bootstrap/dist/css/bootstrap.css'
import App from './App'
import Login from './components/login'
import Hello from './components/hello'

Vue.use(VueRouter)
Vue.use(VueResource)
//Vue-resource默认以payload方式提交数据,这样设置之后以formData方式提交
Vue.http.options.emulateJSON = true;

const routes = [
  {
    path: '/login',
    component : Login
  },{
    path: '/hello',
    component: Hello
  }
]

const router = new VueRouter({
  routes
})

//默认导航到登录页
router.push('/login')

/*
全局路由钩子
访问资源时需要验证localStorage中是否存在token
以及token是否过期
验证成功可以继续跳转
失败返回登录页重新登录
 */
router.beforeEach((to, from, next) => {
  if(localStorage.token && new Date().getTime() < localStorage.tokenExpired){
    next()
  }
  else{
    next('/login')
  }
})

new Vue({
  el: '#app',
  template: '<App/>',
  components: { App },
  router,
  store
})
4.3 App.vue
<template>
  <div id="app">
    <router-view></router-view>
  </div>
</template>

<script>
  export default {
    name: 'app',
  }
</script>

<style scoped>
</style>
4.4 login.vue
<template>
    <div class="login-box">
        <div class="login-logo">
            <b>Admin</b>LTE
        </div>
        <div class="login-box-body">
            <div class="input-group form-group has-feedback">
                <span class="input-group-addon"><span class="glyphicon glyphicon-user"></span></span>
                <input v-model="username" type="text" class="form-control" placeholder="username">
                <span class="input-group-addon">@minibox.com</span>
            </div>
            <div class="input-group form-group has-feedback">
                <span class="input-group-addon"><span class="glyphicon glyphicon-lock"></span></span>
                <input v-model="password" type="password" class="form-control" placeholder="Password">
            </div>
            <div class="row">
                <div class="col-sm-6 col-sm-offset-3 col-md-6 col-md-offset-3">
                    <transition name="slide-fade">
                        <p v-if="show">用户名或密码错误</p>
                    </transition>
                </div>
            </div>
            <div class="row">
                <div class="col-sm-6 col-sm-offset-3 col-md-6 col-md-offset-3">
                    <button v-on:click="auth" class="btn btn-primary btn-block btn-flat">Sign In</button>
                </div>
            </div>
        </div>
    </div>
</template>

<script>
    //提供认证服务的restApi
    var authUrl = 'https://192.168.227.1:8443/auth'
    export default {
        name: 'app',
        data() {
            return {
                username: '',
                password: '',
                show: false
            }
        },
        methods: {
            auth: function(){
                var credentials = {
                    username:this.username,
                    password:this.password
                }
                /*
                post方法提交username和password
                认证成功将返回的用户信息写入到localStorage,并跳转到下一页面
                失败提示认证错误
                */
                this.$http.post(authUrl, credentials).then(response => {
                    localStorage.token = response.data.token
                    localStorage.tokenExpired = response.data.tokenExpired
                    localStorage.userDisplayName = response.data.displayName
                    this.$router.push('hello')
                }, response => {
                    this.show = true
                })
            }
        }
    }
</script>

<style scoped>
    p{
        text-align: center
    }
    .slide-fade-enter-active {
        transition: all .8s ease;
    }
    .slide-fade-leave-active {
        transition: all .8s cubic-bezier(1.0, 0.5, 0.8, 1.0);
    }
    .slide-fade-enter, .slide-fade-leave-to
    /* .slide-fade-leave-active for <2.1.8 */ {
        transform: translateX(10px);
        opacity: 0;
    }
    @import '../assets/css/AdminLTE.min.css'
</style>
5效果
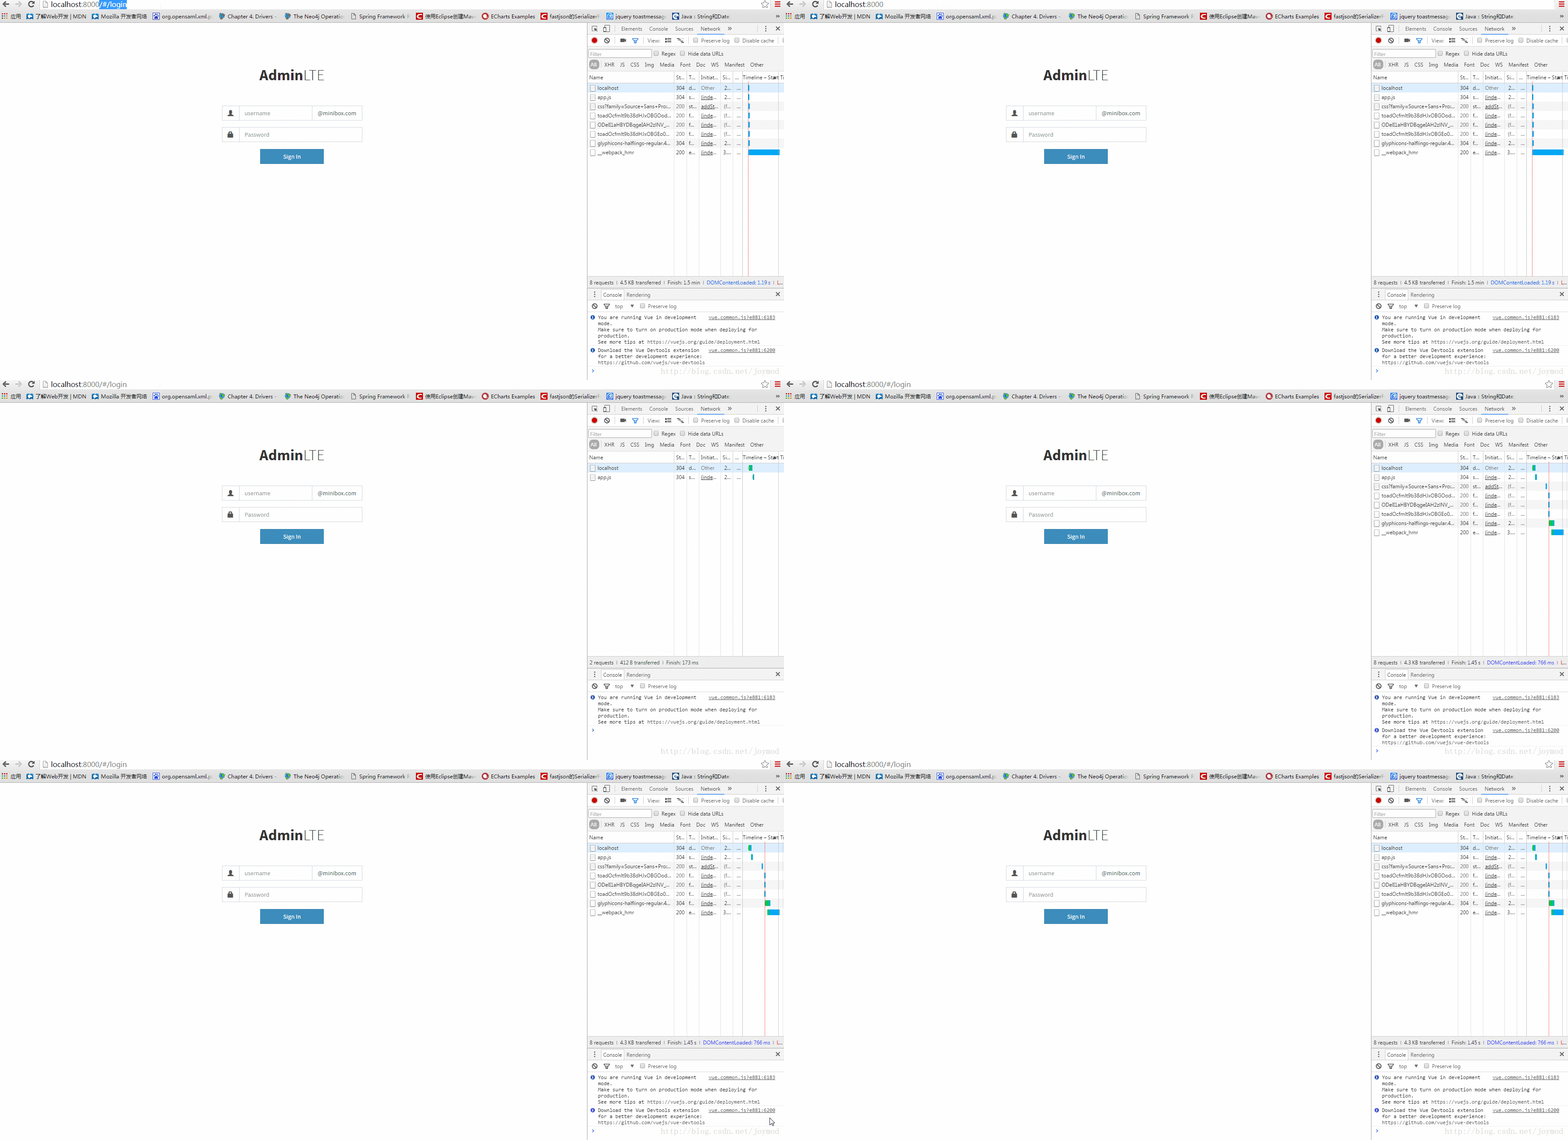
5.1访问http://localhost:8000时被导航到登录页

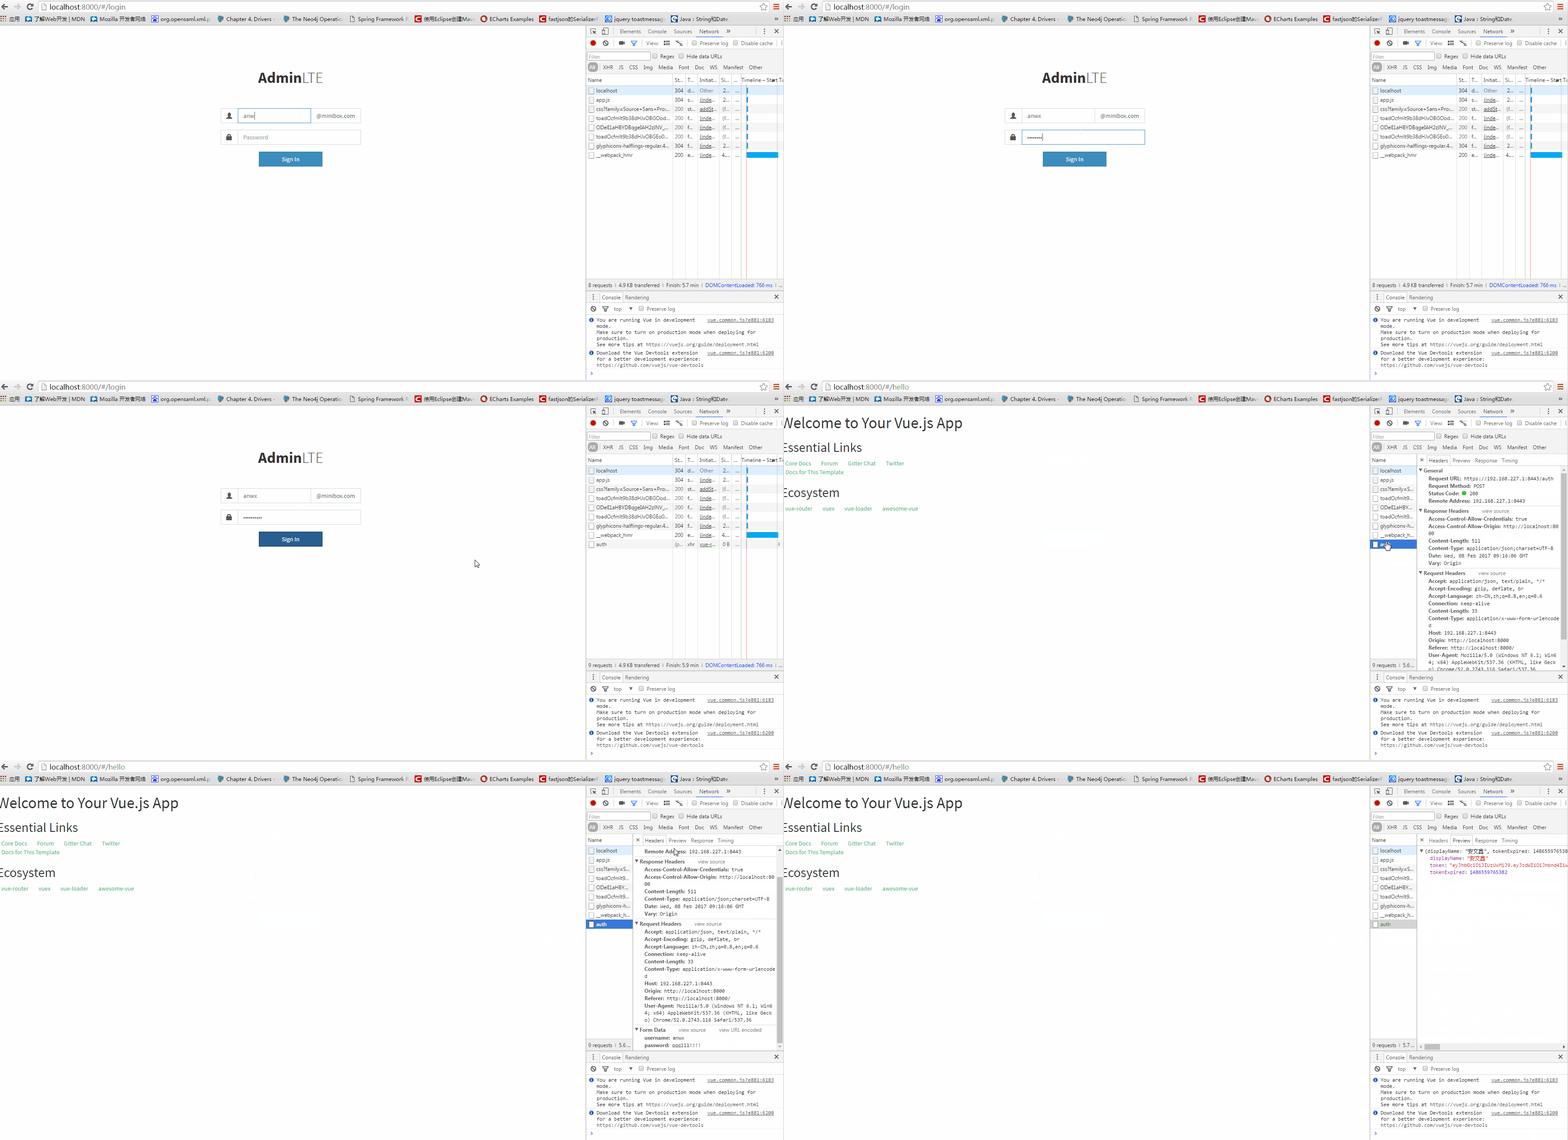
5.2提交登录信息并取得token,跳转下一页


