自定义view确实不好学,刚开始比较慢,今天搞了一下午,不断地调,算是音频条形图做了一个效果图出来。
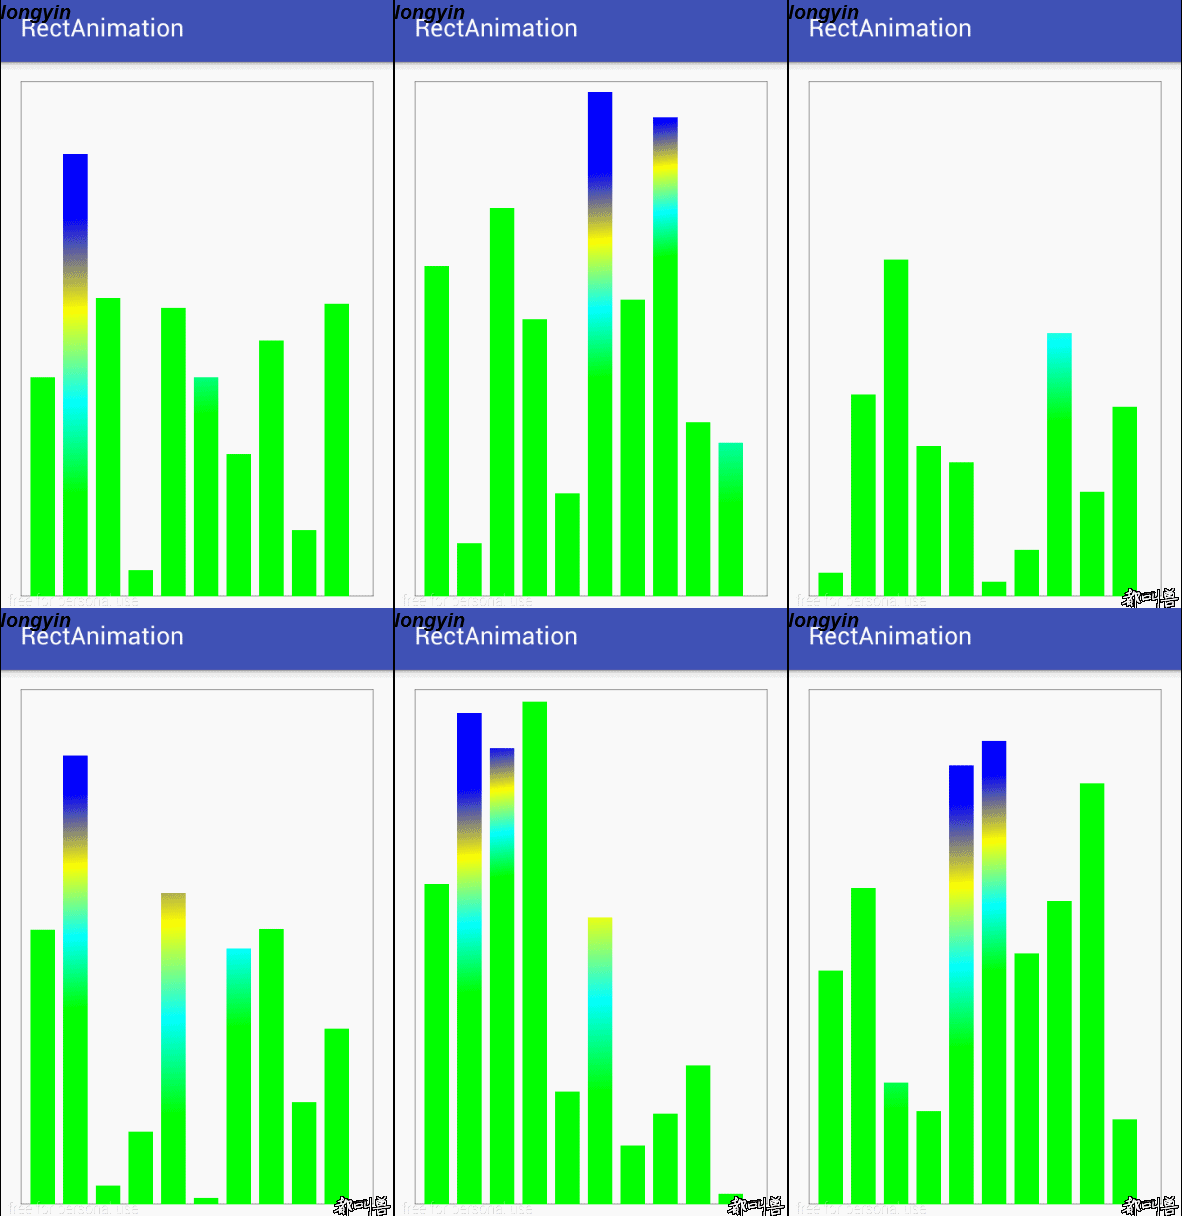
效果图如下:

这是在genymotion里面的展示的效果图,其实做出来比较简单啦。
自己不熟,搞了比较久的时间。
废话不多说,直接上代码:
package com.husy.rectanimation;

import android.content.Context;
import android.graphics.Canvas;
import android.graphics.Color;
import android.graphics.LinearGradient;
import android.graphics.Paint;
import android.graphics.Rect;
import android.graphics.Shader;
import android.util.AttributeSet;
import android.view.View;

/**
 * Created by husy on 2015/10/15.
 * @description:
 */
public class RectAnimationView extends View {
    private Paint rectP;
    private Paint rectK;
    private int rectW = 30;//每个矩形的宽度
    private int count = 0;//矩形的个数
    private int viewW;//组件的宽度
    private int viewH;//组件的高度
    private LinearGradient linearGradient;//线性渐变
    public RectAnimationView(Context context) {
        super(context);
        init();
    }

    public RectAnimationView(Context context, AttributeSet attrs) {
        super(context, attrs);
        init();
    }

    public RectAnimationView(Context context, AttributeSet attrs, int defStyleAttr) {
        super(context, attrs, defStyleAttr);
        init();
    }
    private void init(){
        rectP = new Paint();//初始化矩形的画笔
        rectP.setAntiAlias(true);
        rectP.setStyle(Paint.Style.FILL);

        rectK = new Paint();//初始化边框的画笔
        rectK.setAntiAlias(true);
        rectK.setStyle(Paint.Style.STROKE);

    }

    @Override
    protected void onMeasure(int widthMeasureSpec, int heightMeasureSpec) {
        super.onMeasure(widthMeasureSpec, heightMeasureSpec);
        int modeW = MeasureSpec.getMode(widthMeasureSpec);
        int width = MeasureSpec.getSize(widthMeasureSpec);
        int modeH = MeasureSpec.getMode(heightMeasureSpec);
        int height = MeasureSpec.getSize(heightMeasureSpec);
        if (modeW==MeasureSpec.UNSPECIFIED){
            width = 250;
        }
        if (modeH==MeasureSpec.UNSPECIFIED){
            height = 250;
        }//当宽高不指定的时候,指定默认值
        setMeasuredDimension(width,height);
    }

    @Override
    protected void onDraw(Canvas canvas) {
        super.onDraw(canvas);
        //计算组件绘制区域的宽高
        viewH = getHeight()-getPaddingLeft()-getPaddingRight();
        viewW = getWidth()-getPaddingTop()-getPaddingBottom();
        int bottom = viewH;//计算view底部距离
        count = viewW /(rectW+10);//计算矩形的个数 10位矩形的间距
        Rect rectw = new Rect(0,0, viewW,bottom);//外边框矩形
        canvas.drawRect(rectw, rectK);
        //循环绘制矩形
        for (int i=0;i<count;i++){
            linearGradient = new LinearGradient(
                    0,
                    0,
                    rectW,
                    randomH(),
                    new int[]{Color.BLUE,Color.YELLOW,Color.CYAN,Color.GREEN},
                    new float[]{0.3f,0.5f,0.7f,0.9f},
                    Shader.TileMode.CLAMP);
            rectP.setShader(linearGradient);
            Rect rect = new Rect(
                    (int)(viewW *0.03f+i*(rectW+10)),
                    bottom-randomH(),
                    (int)(viewW *0.03f+(i)*(rectW+10)+rectW),
                    bottom);
            canvas.drawRect(rect,rectP);
        }
        canvas.save();
        postInvalidateDelayed(300);
    }
    //随机生成矩形的高度,形成梯度
    private int randomH(){
        double rand = Math.random();
        return (int)(rand* viewH);
    }
}
如果你是牛人,直接就可以过了,不用往下看啦。都是比较简单的东西。
其中值的提的东西是,LinearGradient类,这是个线性渐变的效果。
他的构造方法有两种:
//参数x0表示渐变的起始点x坐标;
//参数y0表示渐变的起始点y坐标;
//参数x1表示渐变的终点x坐标;
//参数y1表示渐变的终点y坐标 ;
//color0表示渐变开始颜色;
//color1表示渐变结束颜色;
//参数tile表示平铺方式。
public LinearGradient(float x0, float y0, float x1, float y1, int colors[], float positions[],
            TileMode tile)


        // 创建LinearGradient并设置渐变颜色数组
        // 第一个,第二个参数表示渐变起点 可以设置起点终点在对角等任意位置
        // 第三个,第四个参数表示渐变终点
        // 第五个参数表示渐变颜色
        // 第六个参数可以为空,表示坐标,值为0-1 new float[] {0.25f, 0.5f, 0.75f, 1 }
        // 如果这是空的,颜色均匀分布,沿梯度线。
        // 第七个表示平铺方式
        // CLAMP重复最后一个颜色至最后
        // MIRROR重复着色的图像水平或垂直方向已镜像方式填充会有翻转效果
        // REPEAT重复着色的图像水平或垂直方向
 public LinearGradient(float x0, float y0, float x1, float y1, int color0, int color1,
            TileMode tile)
别的地方就没有什么说的了,剩下的就是onDraw方法中进行绘制矩形就可以了。
主要在onDraw方法中使用了postInvalidateDelayed(300);方法,这样设置是300ms刷新一次,不要调用Invalidate()方法,这样的话 刷新太过频繁,消耗太大。
定义好自定义view之后,就是使用了,xml布局文件如下:
<?xml version="1.0" encoding="utf-8"?>
<RelativeLayout
    xmlns:android="http://schemas.android.com/apk/res/android"
    xmlns:tools="http://schemas.android.com/tools"
    android:layout_width="match_parent"
    android:layout_height="match_parent"
    android:paddingLeft="@dimen/activity_horizontal_margin"
    android:paddingRight="@dimen/activity_horizontal_margin"
    android:paddingTop="@dimen/activity_vertical_margin"
    android:paddingBottom="@dimen/activity_vertical_margin"
    tools:context=".MainActivity">

    <com.husy.rectanimation.RectAnimationView
        android:layout_width="wrap_content"
        android:layout_height="wrap_content"
        />
</RelativeLayout>
然后activiey中直接引用布局就可以了,没什么说的,这样就实现了上文章开始的效果图了。
下面改一下布局的大小,如下:
<?xml version="1.0" encoding="utf-8"?>
<RelativeLayout
    xmlns:android="http://schemas.android.com/apk/res/android"
    xmlns:tools="http://schemas.android.com/tools"
    android:layout_width="match_parent"
    android:layout_height="match_parent"
    android:paddingLeft="@dimen/activity_horizontal_margin"
    android:paddingRight="@dimen/activity_horizontal_margin"
    android:paddingTop="@dimen/activity_vertical_margin"
    android:paddingBottom="@dimen/activity_vertical_margin"
    tools:context=".MainActivity">

    <com.husy.rectanimation.RectAnimationView
        android:layout_width="250dp"
        android:layout_height="250dp"
        />
</RelativeLayout>
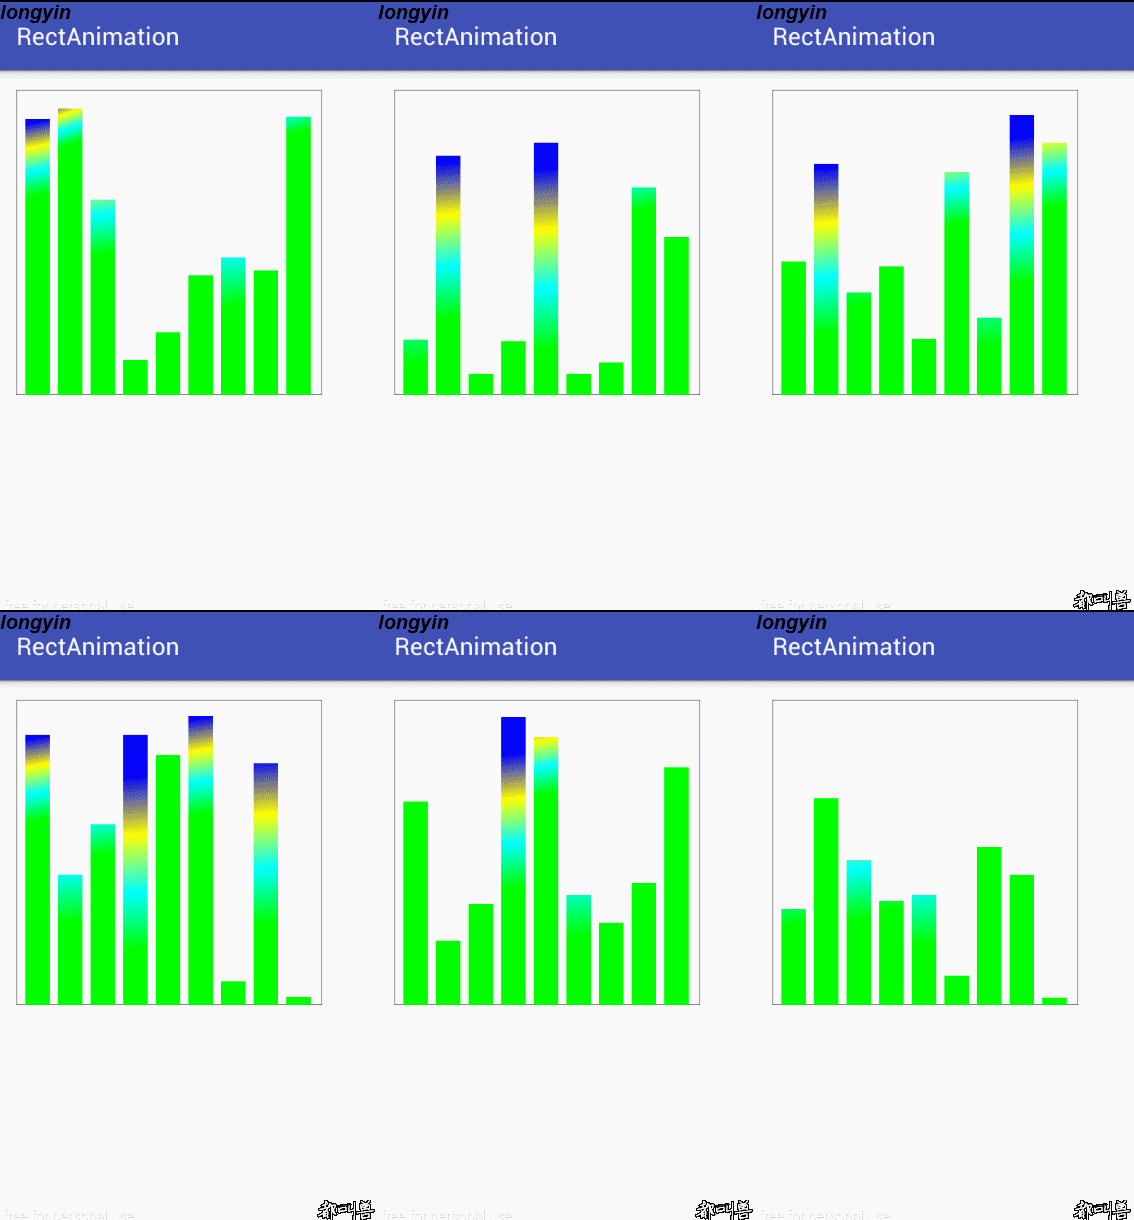
效果图如下:

可以看到效果图随着设置的大小而变化啦。
总之来说,比较简单,github地址:
https://github.com/longyinzaitian/RectAnimation
欢迎交流!【握手~~】


