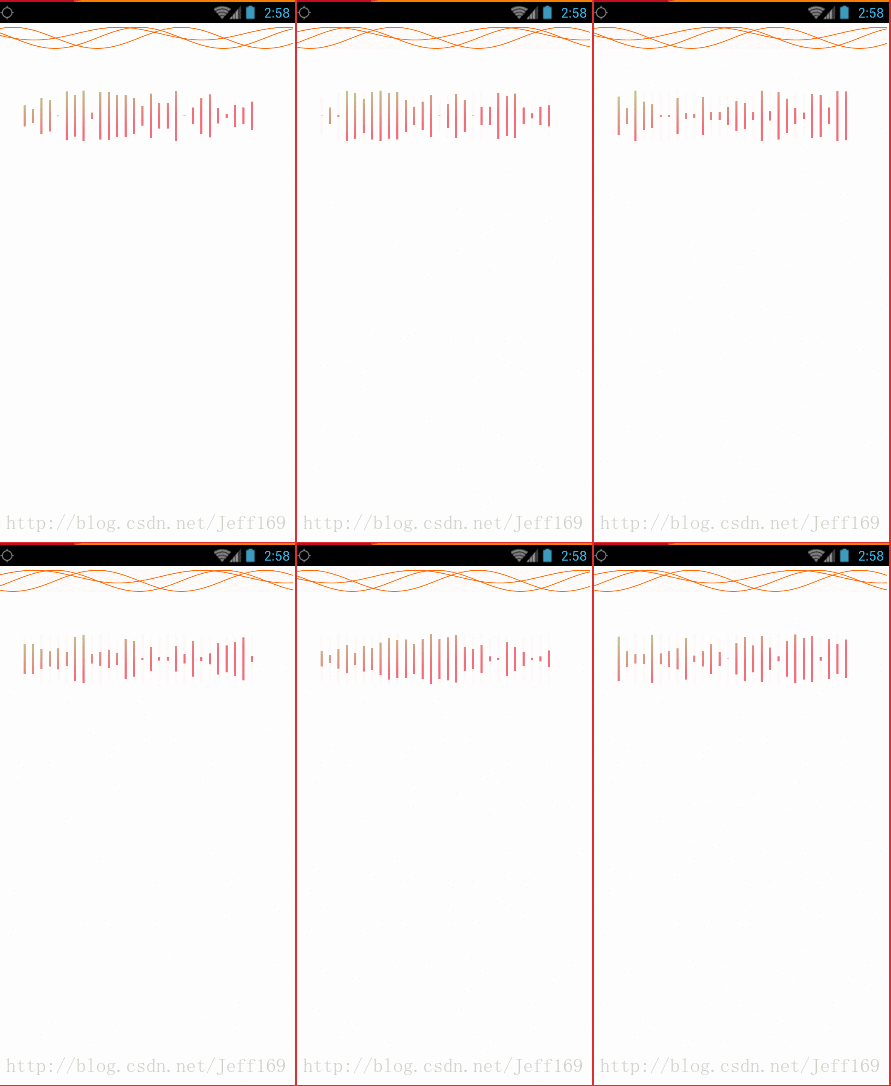
效果图:

这里边有两个声音识别动画,分别是矩形声音识别动画和线形(波浪线形)声音识别动画,
本篇先来介绍矩形声音识别动画:
原理:
1. 每隔一段时间,重新绘制着界面,小矩形的高度等于总高度乘以一个小于1的随机数
2. 设置渐变色
步骤:
1.先确定这个控件的属性:
矩形的数量,矩形底部颜色和顶部颜色,刷新界面的速度,矩形间的间隔
<declare-styleable name="VoiceRect">
        <attr name="RectCount" format="integer" />
        <attr name="RectDownColor" format="reference|color" />
        <attr name="RectSpeed" format="integer" />
        <attr name="RectTopColor" format="reference|color" />
        <attr name="RectOffset" format="integer" />
</declare-styleable>
2.在这个自定义控件的构造方法中获取各个属性值
public VoiceRectView(Context context) {
            this(context, null);
        }

    public VoiceRectView(Context context, AttributeSet attrs) {
        this(context, attrs, 0);
    }

    public VoiceRectView(Context context, AttributeSet attrs, int defStyleAttr) {
        super(context, attrs, defStyleAttr);
        setPaint(context, attrs);
    }

    public void setPaint(Context context, AttributeSet attrs) {
        Log.e("TAG", "--------------------");
        // 将属性存储到TypedArray中
        TypedArray ta = context.obtainStyledAttributes(attrs, R.styleable.VoiceRect);
        mRectPaint = new Paint();
        // 添加矩形画笔的基础颜色
        mRectPaint.setColor(ta.getColor(R.styleable.VoiceRect_RectTopColor,
                ContextCompat.getColor(context, R.color.top_color)));
        // 添加矩形渐变色的上面部分
        topColor = ta.getColor(R.styleable.VoiceRect_RectTopColor,
                ContextCompat.getColor(context, R.color.top_color));
        // 添加矩形渐变色的下面部分
        downColor = ta.getColor(R.styleable.VoiceRect_RectDownColor,
                ContextCompat.getColor(context, R.color.down_color));
        // 设置矩形的数量
        mRectCount = ta.getInt(R.styleable.VoiceRect_RectCount, 10);
        // 设置重绘的时间间隔,也就是变化速度
        mSpeed = ta.getInt(R.styleable.VoiceRect_RectSpeed, 300);
        // 每个矩形的间隔
        offset = ta.getInt(R.styleable.VoiceRect_RectOffset, 5);
        // 回收TypeArray
        ta.recycle();
    }
3.在onSizeChanged()方法中设置渐变色并进行初始化:
@Override
    protected void onSizeChanged(int w, int h, int oldW, int oldH) {
        super.onSizeChanged(w, h, oldW, oldH);
        // 渐变效果
        LinearGradient mLinearGradient;
        // 画布的宽
        int mWidth;
        // 获取画布的宽
        mWidth = getWidth();
        // 获取矩形的最大高度
        mRectHeight = getHeight();
        // 获取单个矩形的宽度(减去的部分为到右边界的间距)
        mRectWidth = (mWidth - offset) / mRectCount;
        // 实例化一个线性渐变
        mLinearGradient = new LinearGradient(
                0,
                0,
                mRectWidth,
                mRectHeight,
                topColor,
                downColor,
                Shader.TileMode.CLAMP
        );
        // 添加进画笔的着色器
        mRectPaint.setShader(mLinearGradient);
    }
4.在onDraw方法中画出每个矩形,并且隔一段时间刷新一次界面
@Override
    protected void onDraw(Canvas canvas) {
        super.onDraw(canvas);
        double mRandom;
        float currentHeight;
        for (int i = 0; i < mRectCount; i++) {
            // 由于只是简单的案例就不监听音频输入,随机模拟一些数字即可
            mRandom = Math.random();

            currentHeight = (float) (mRectHeight * mRandom);

            // 矩形的绘制是从左边开始到上、右、下边(左右边距离左边画布边界的距离,上下边距离上边画布边界的距离)
            canvas.drawRect(
                    (float) (mRectWidth * i + offset),
                    (mRectHeight - currentHeight) / 2,
                    (float) (mRectWidth * (i + 1)),
                    mRectHeight / 2 + currentHeight / 2,
                    mRectPaint
            );
        }
        // 使得view延迟重绘
        postInvalidateDelayed(mSpeed);
    }
注意:
- 这里只是简单的使用随机数去控制小矩形的高度,在一些第三方的语音识别sdk,如
科大讯飞,提供了声音音量大小和长度的的方法的,也可根据声音大小和长度去设置 矩形的高度. - 矩形位置是以整个控件左中点(水平最左,竖直方向中间的点)为圆点画的矩形
5.布局文件中使用:
<com.yzhx.testvoiceani.VoiceRectView
        android:layout_width="match_parent"
        android:layout_height="60dp"
        VoiceRect:RectCount="28"
        VoiceRect:RectDownColor="@color/red"
        VoiceRect:RectOffset="15"
        VoiceRect:RectSpeed="300"
        VoiceRect:RectTopColor="@color/green"
        android:layout_marginLeft="30dp"
        android:layout_marginRight="30dp"
        />


