css3+js实现按钮水纹涟漪效果
原创
©著作权归作者所有:来自51CTO博客作者黑夜中的潜行者的原创作品,请联系作者获取转载授权,否则将追究法律责任
css3+js实现按钮水纹涟漪效果
HTML
<a href="#">button</a>
<a href="#">button</a>
CSS3
* {
    margin: 0;
    padding: 0;
    font-family: 'Poppins', sans-serif; /* 字体 */
}

body {
    display: flex;
    justify-content: center;/* 弹性盒子 */
    align-items: center;
    min-height: 100vh;
    flex-direction: column;
    background: #1f2a33;
}

a {
    position: relative;
    display: inline-block;
    padding: 12px 36px;
    margin: 10px 0;
    color: #fff;
    text-decoration: none;
    text-transform: uppercase;
    font-size: 18px;
    letter-spacing: 2px;
    border-radius: 40px;
    overflow: hidden;
    background: linear-gradient(90deg, #0162c8, #55e7fc);
}
/* 子伪类选择器 */
a:nth-child(2) {
    background: linear-gradient(90deg, #755bea, #ff72c0);
}

span {
    position: absolute;
    background: #fff;
    transform: translate(-50%, -50%);
    pointer-events: none;
    border-radius: 50%;
    animation: animate 1s linear infinite;
}

@keyframes animate {
    0% {
        width: 0px;
        height: 0px;
        opacity: 0.5;
    }
    100% {
        width: 500px;
        height: 500px;
        opacity: 0;
    }
}
JavaScript
- 启用 js 监听事件
- 定时器
- 目的:控制动画和单位时间内点击效果统一
const buttons = document.querySelectorAll('a');

buttons.forEach(btn => { //箭头函数 (ES6)

    btn.addEventListener('click', function (e) {
        let x = e.clientX - e.target.offsetLeft;
        let y = e.clientY - e.target.offsetTop;

        let ripples = document.createElement('span');

        ripples.style.left = x + 'px';
        ripples.style.top = y + 'px';

        this.appendChild(ripples);
        setTimeout(() => {
            ripples.remove()
        }, 1000);
    })
})
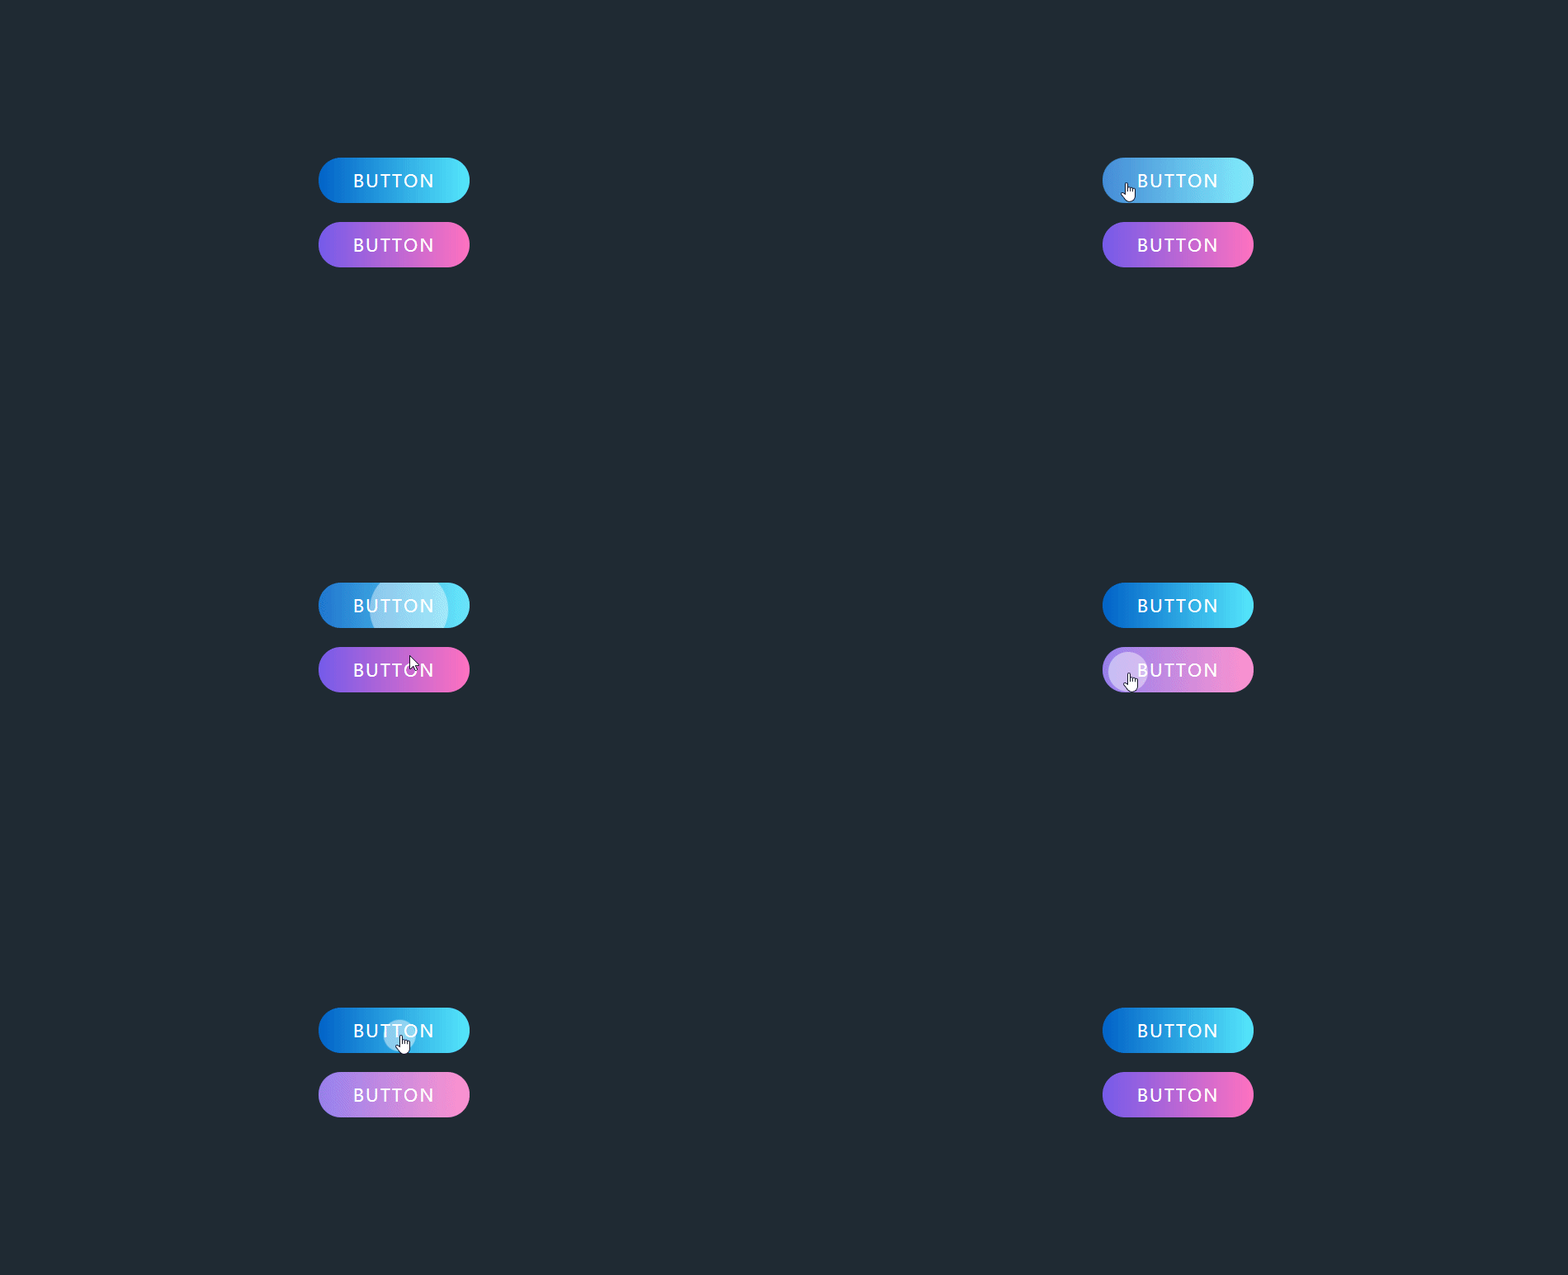
效果图:


